Shedquarters
May 25th, 2017
Since 2009, I have worked out of my home office, the FROG (finished room over garage). Since then, life has changed a bit. I have three awesome little boys who are growing up to be school age, and my wife and I need a part of the house dedicated to homeschooling.
The FROG is the obvious location. When you have three kids, room to spare is a luxuary not often found.
But in order to use the FROG for homeschooling, I need to vacate. I could've rented office space for $750-$1500 per month. But have you ever tried to RENT a single or double office? They're really hard to find at reasonable rates.
And I like working at home. Adding a commute back into day to day would really put a bummer on my personal and business life. There needed to be a better alternative.
Today, I bought my Shedquarters.
Note: These are the model I bought, but mine is more customized.
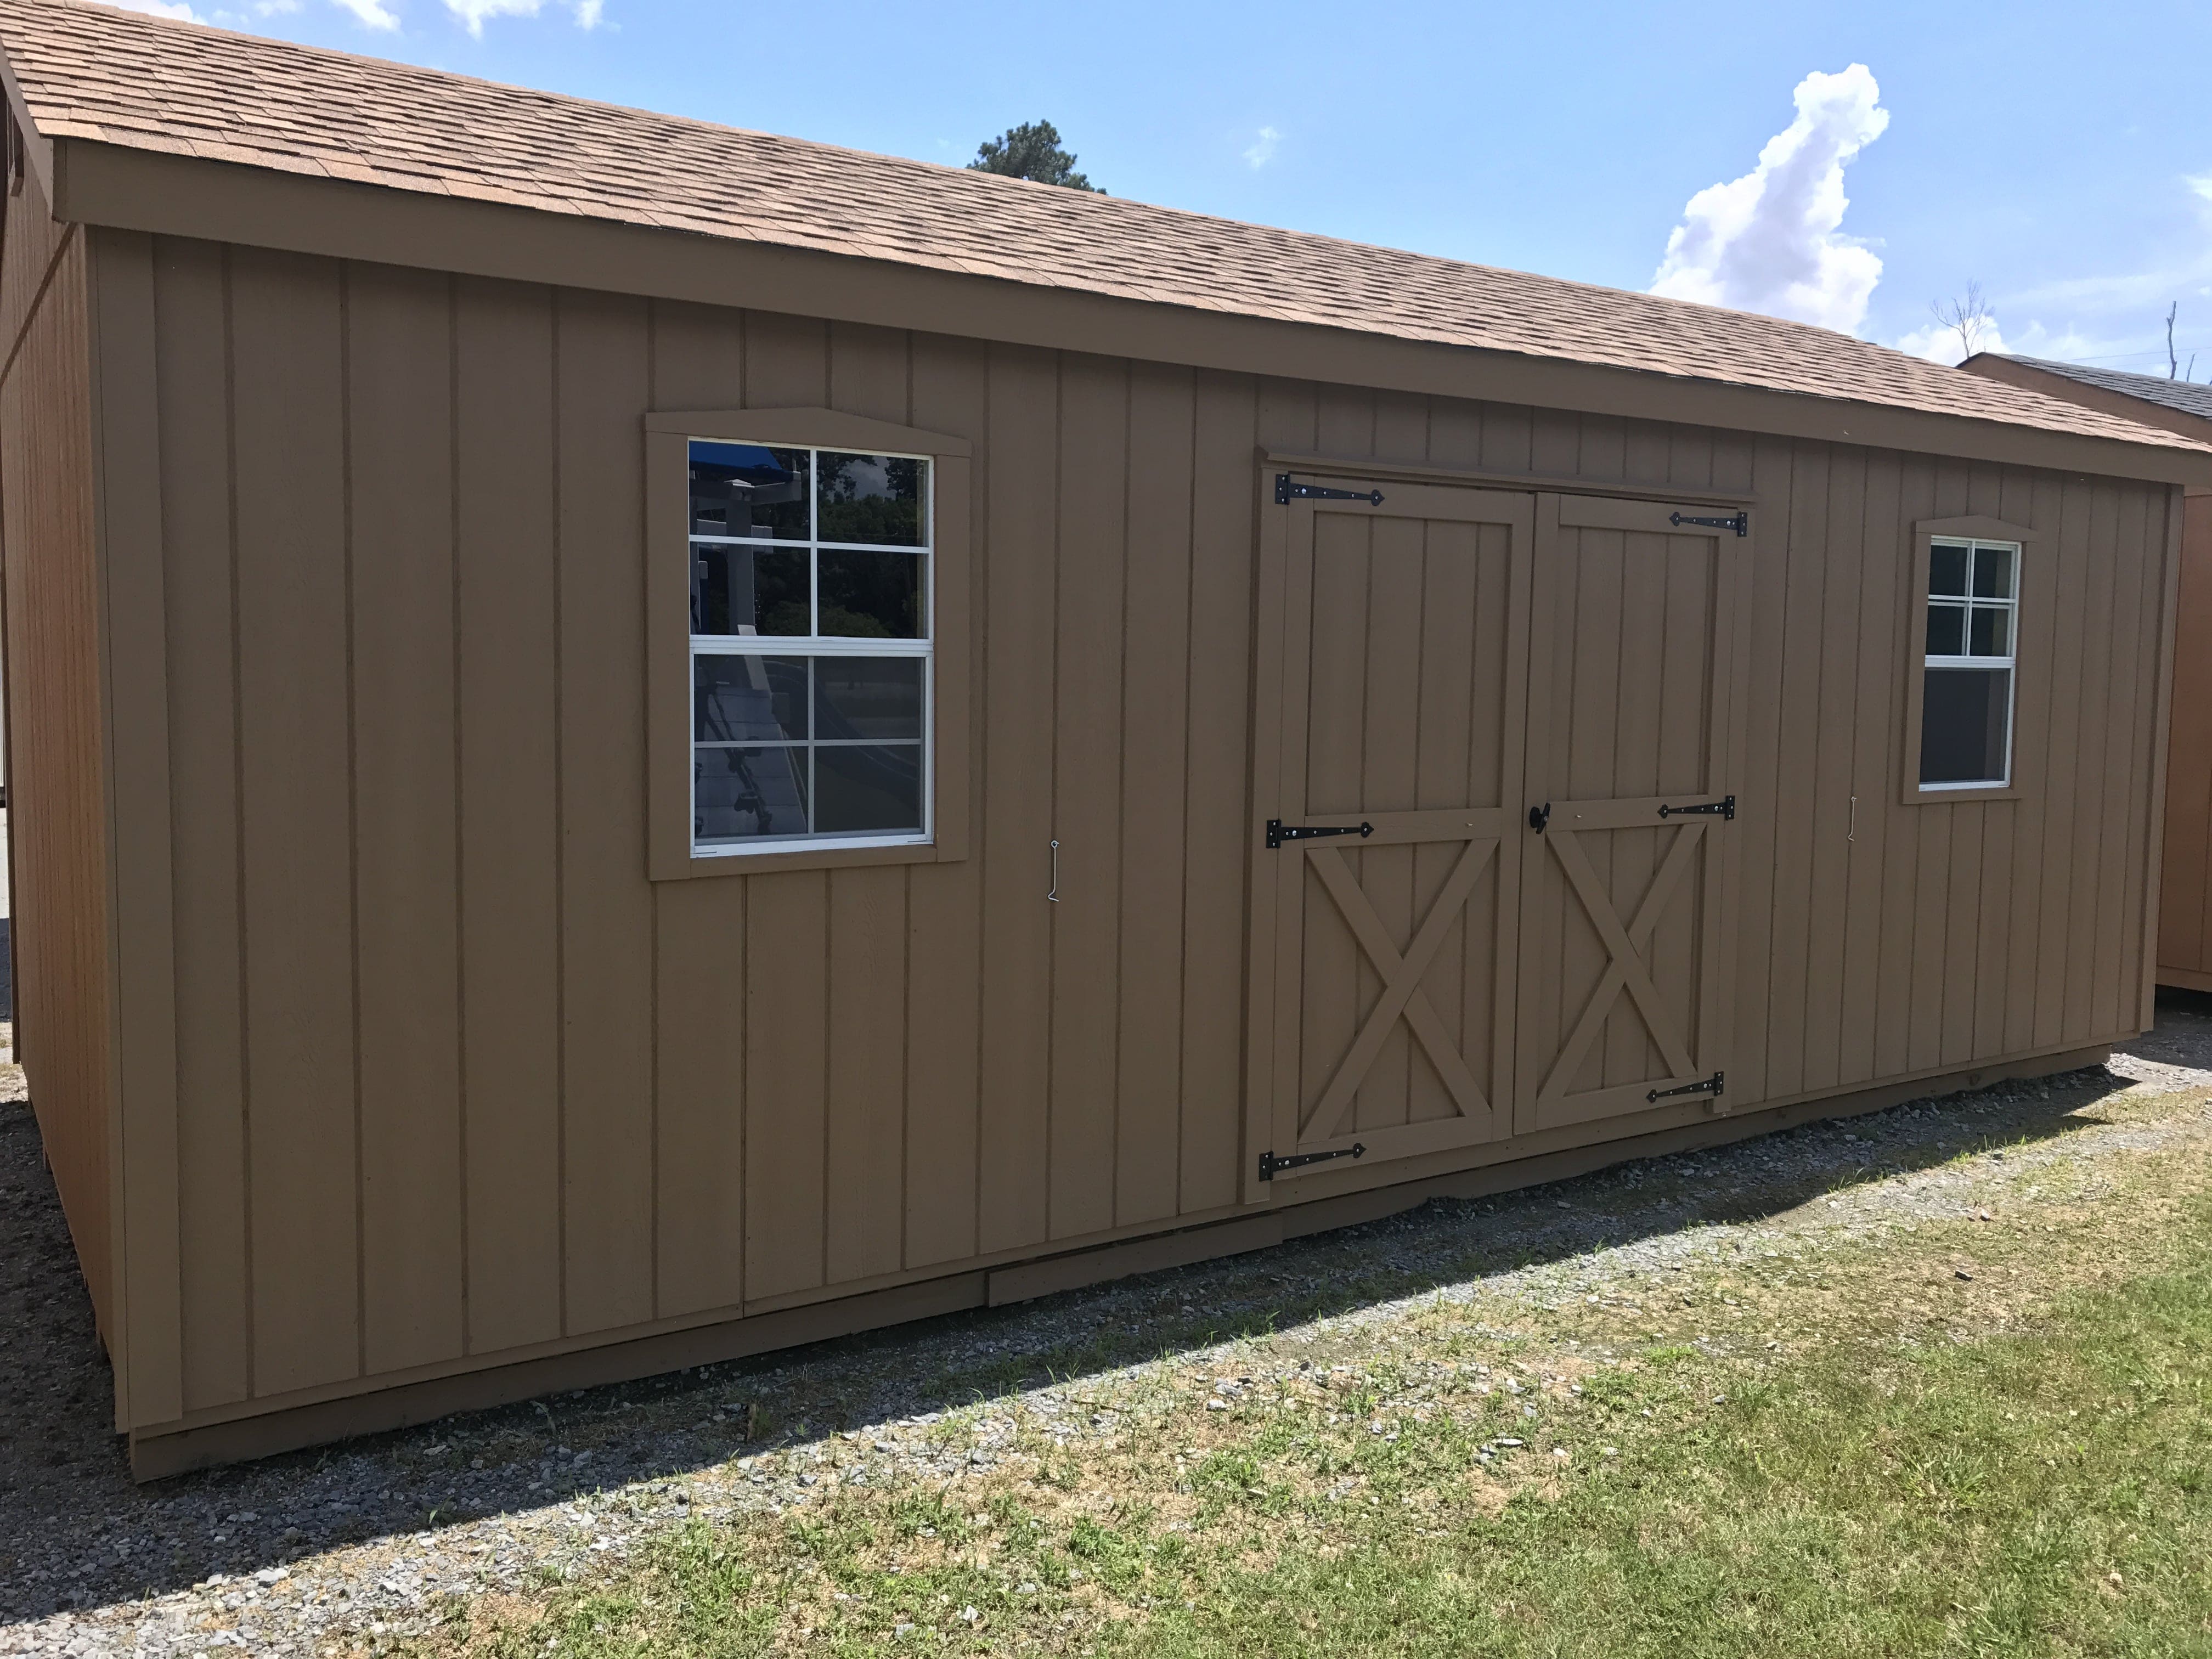
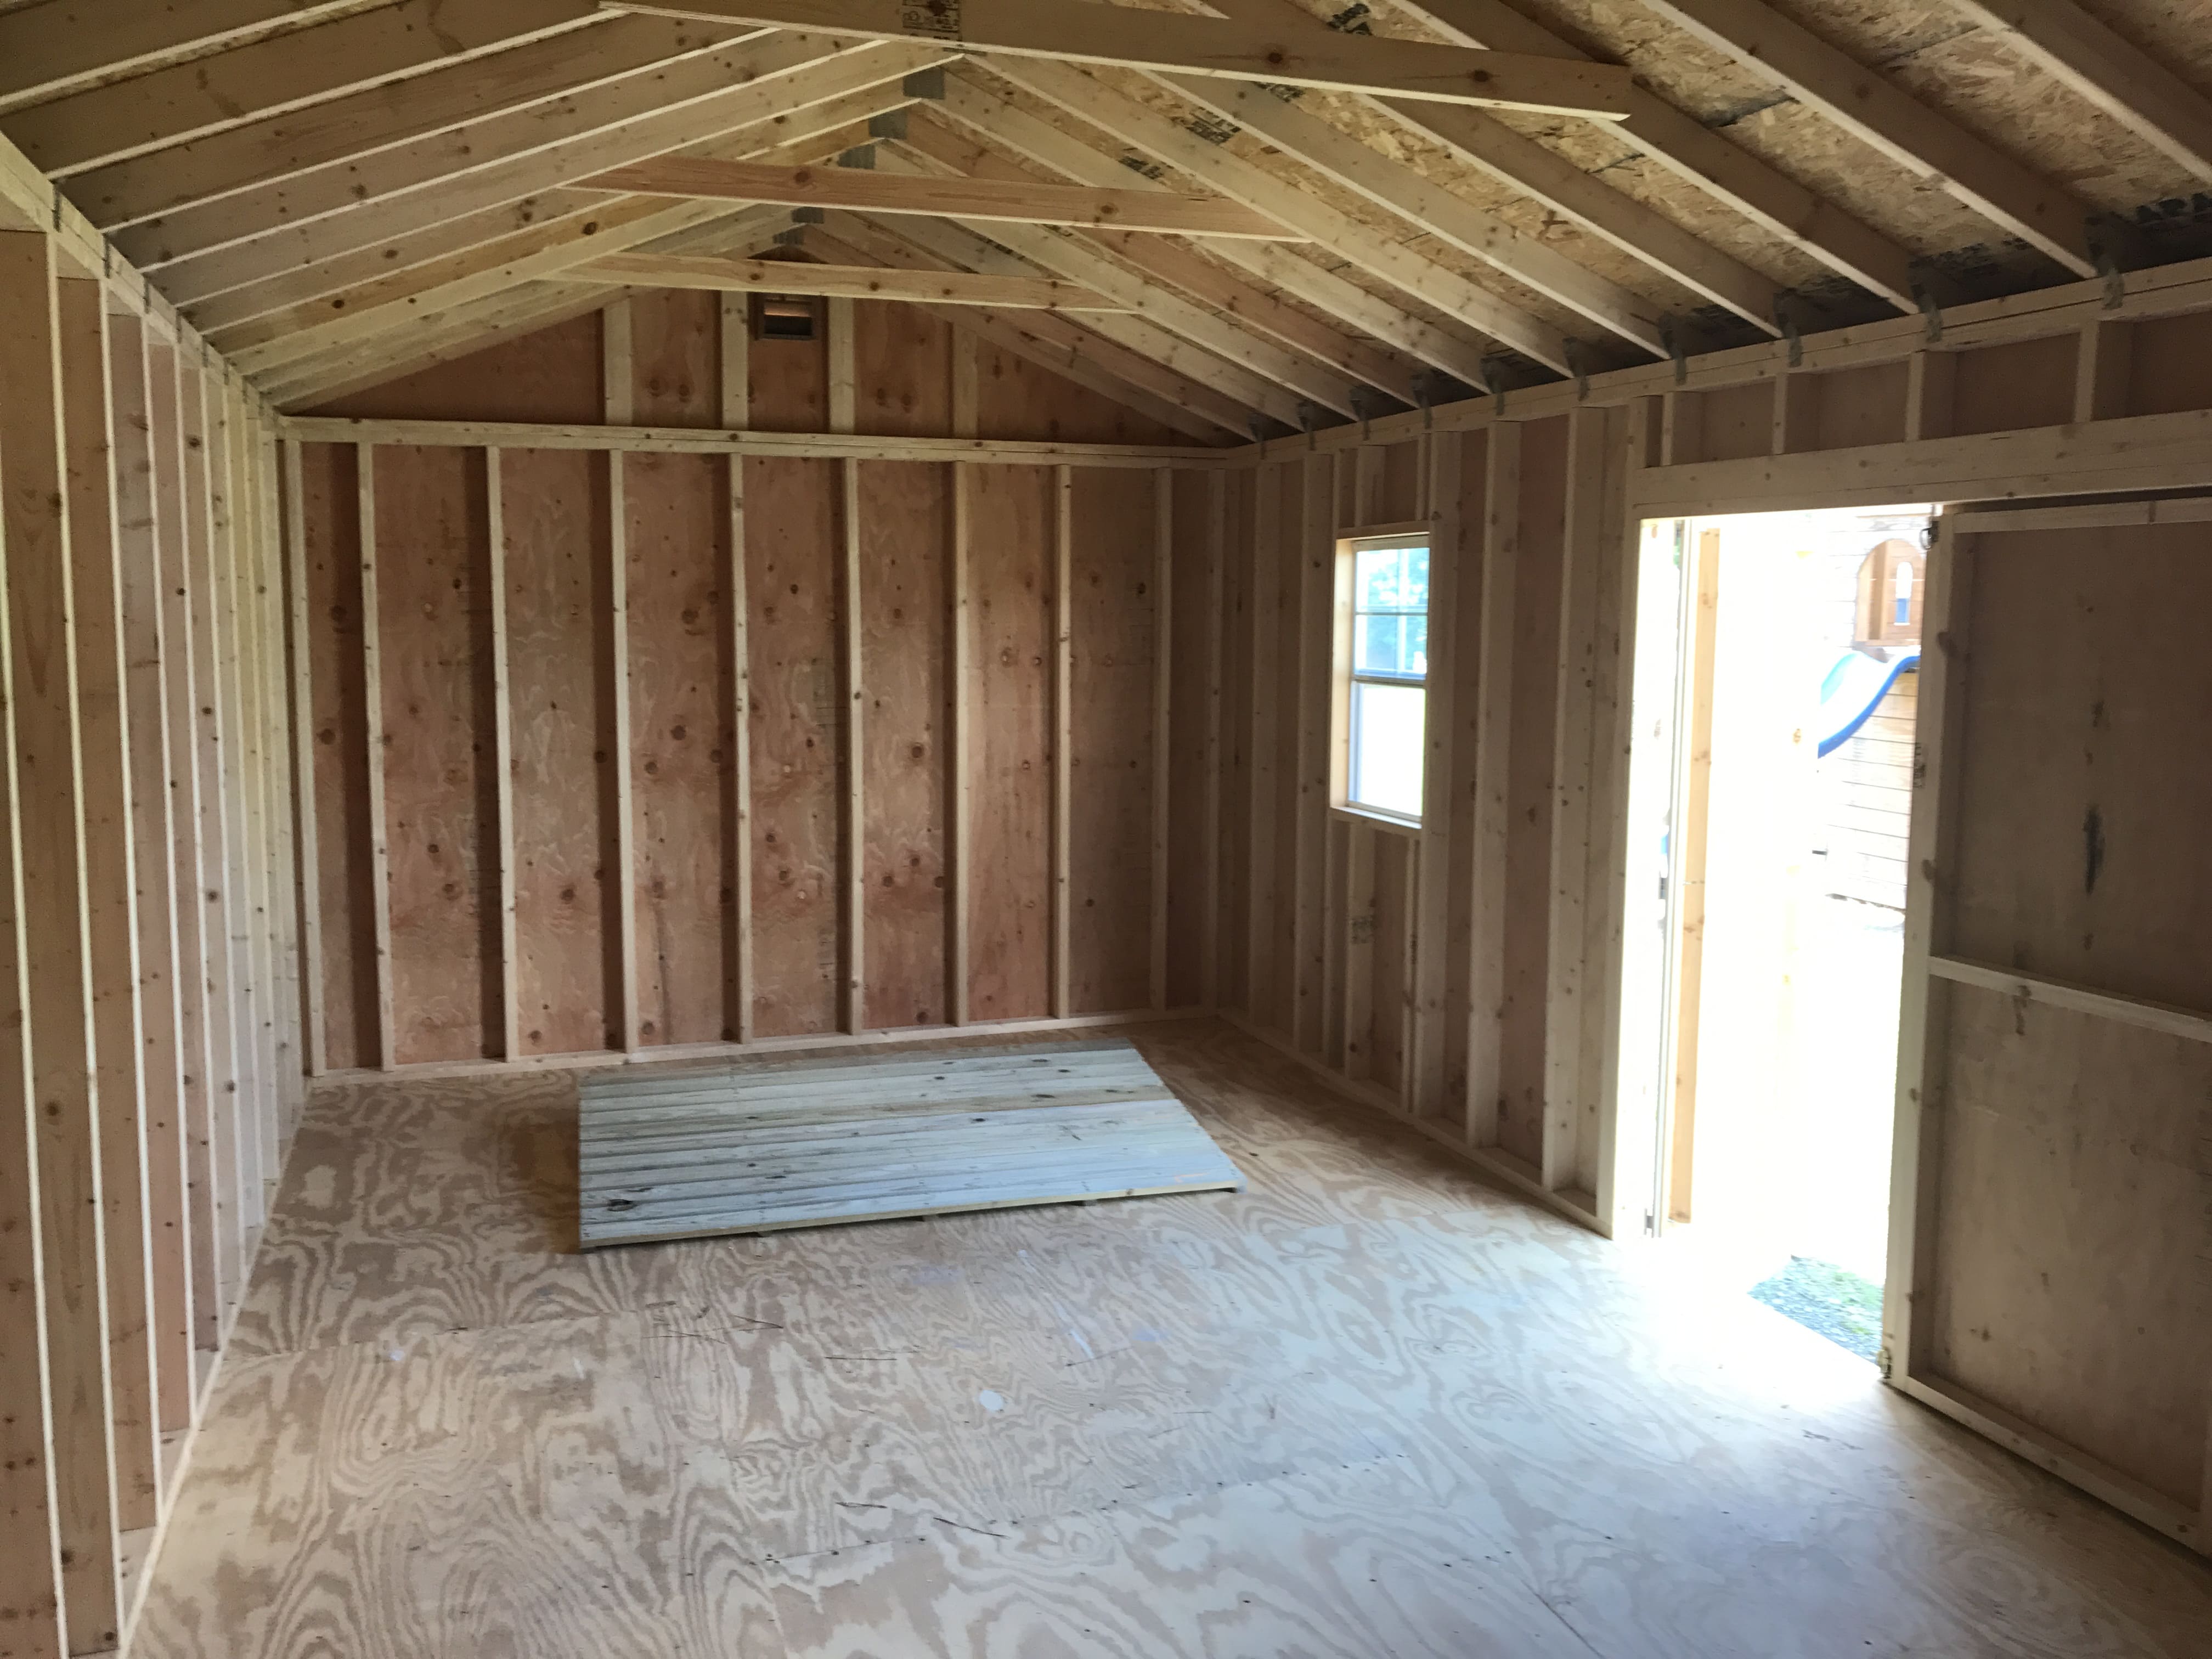
The pictures above show the "base" model of the building I'm buying. My shed will have a real door on the right hand corner, and windows going all the way around.
And the entire thing will be unfinished. Part of my fun is insulating, drywalling, and running power/internet out to the building.
This post will be a story of the work I do on my Shedquarters, and also an overview of the costs associated with owning it.
June 17th, 2017 - Area Prep
Here is a before picture of where there Shedquarters is going to live.
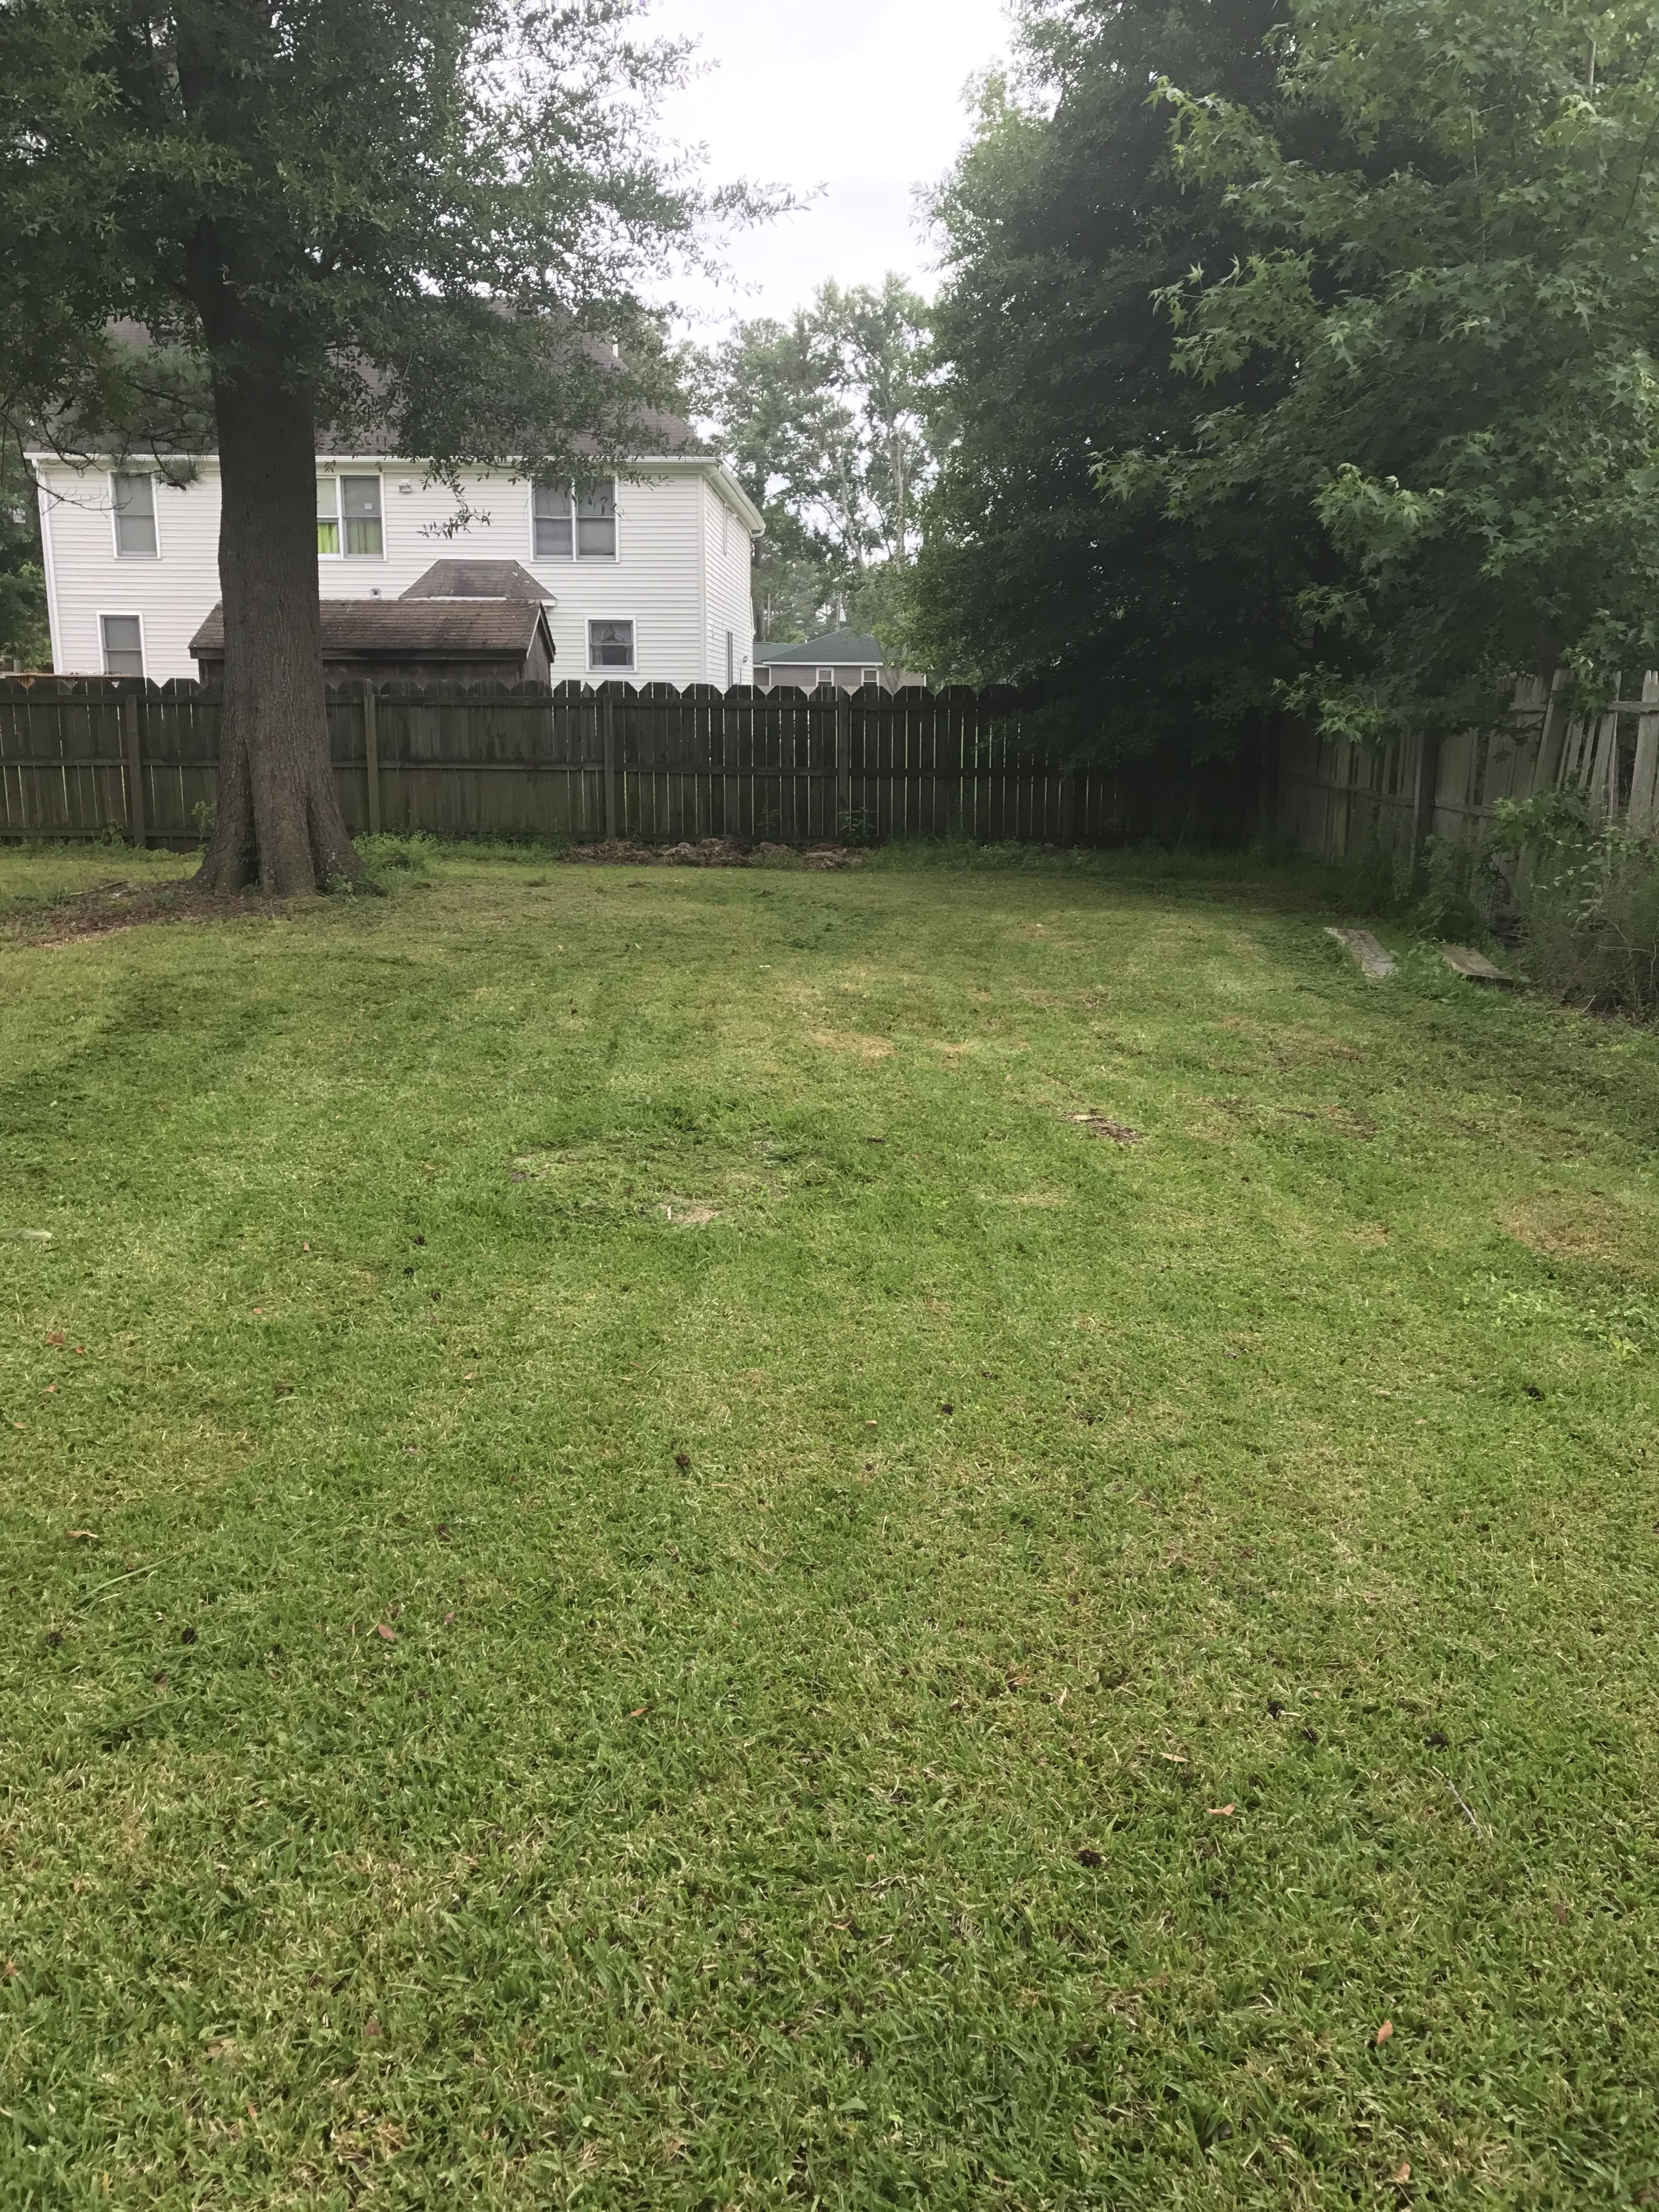
Normally with these types of sheds, they can just be dropped on the ground or put up on blocks. That's not a bad way to secure the shed, however, this area is prone to holding water when it rains. Several epic rainstorms recently have caused me to reevaluate the foundation for my Shedquarters.
Ideally, I would have just poured a concrete slab. It's most likely to last the longest. The best estimate I got was $1,900 and I'd have to wait 2-3 weeks before the work could be done.
I'm not opposed to a bit of hard work, so I went for a compromise of pouring concrete piers. Think "fence posts" but without the fence.
Since these sheds are turnkey, I already knew where the piers should go.
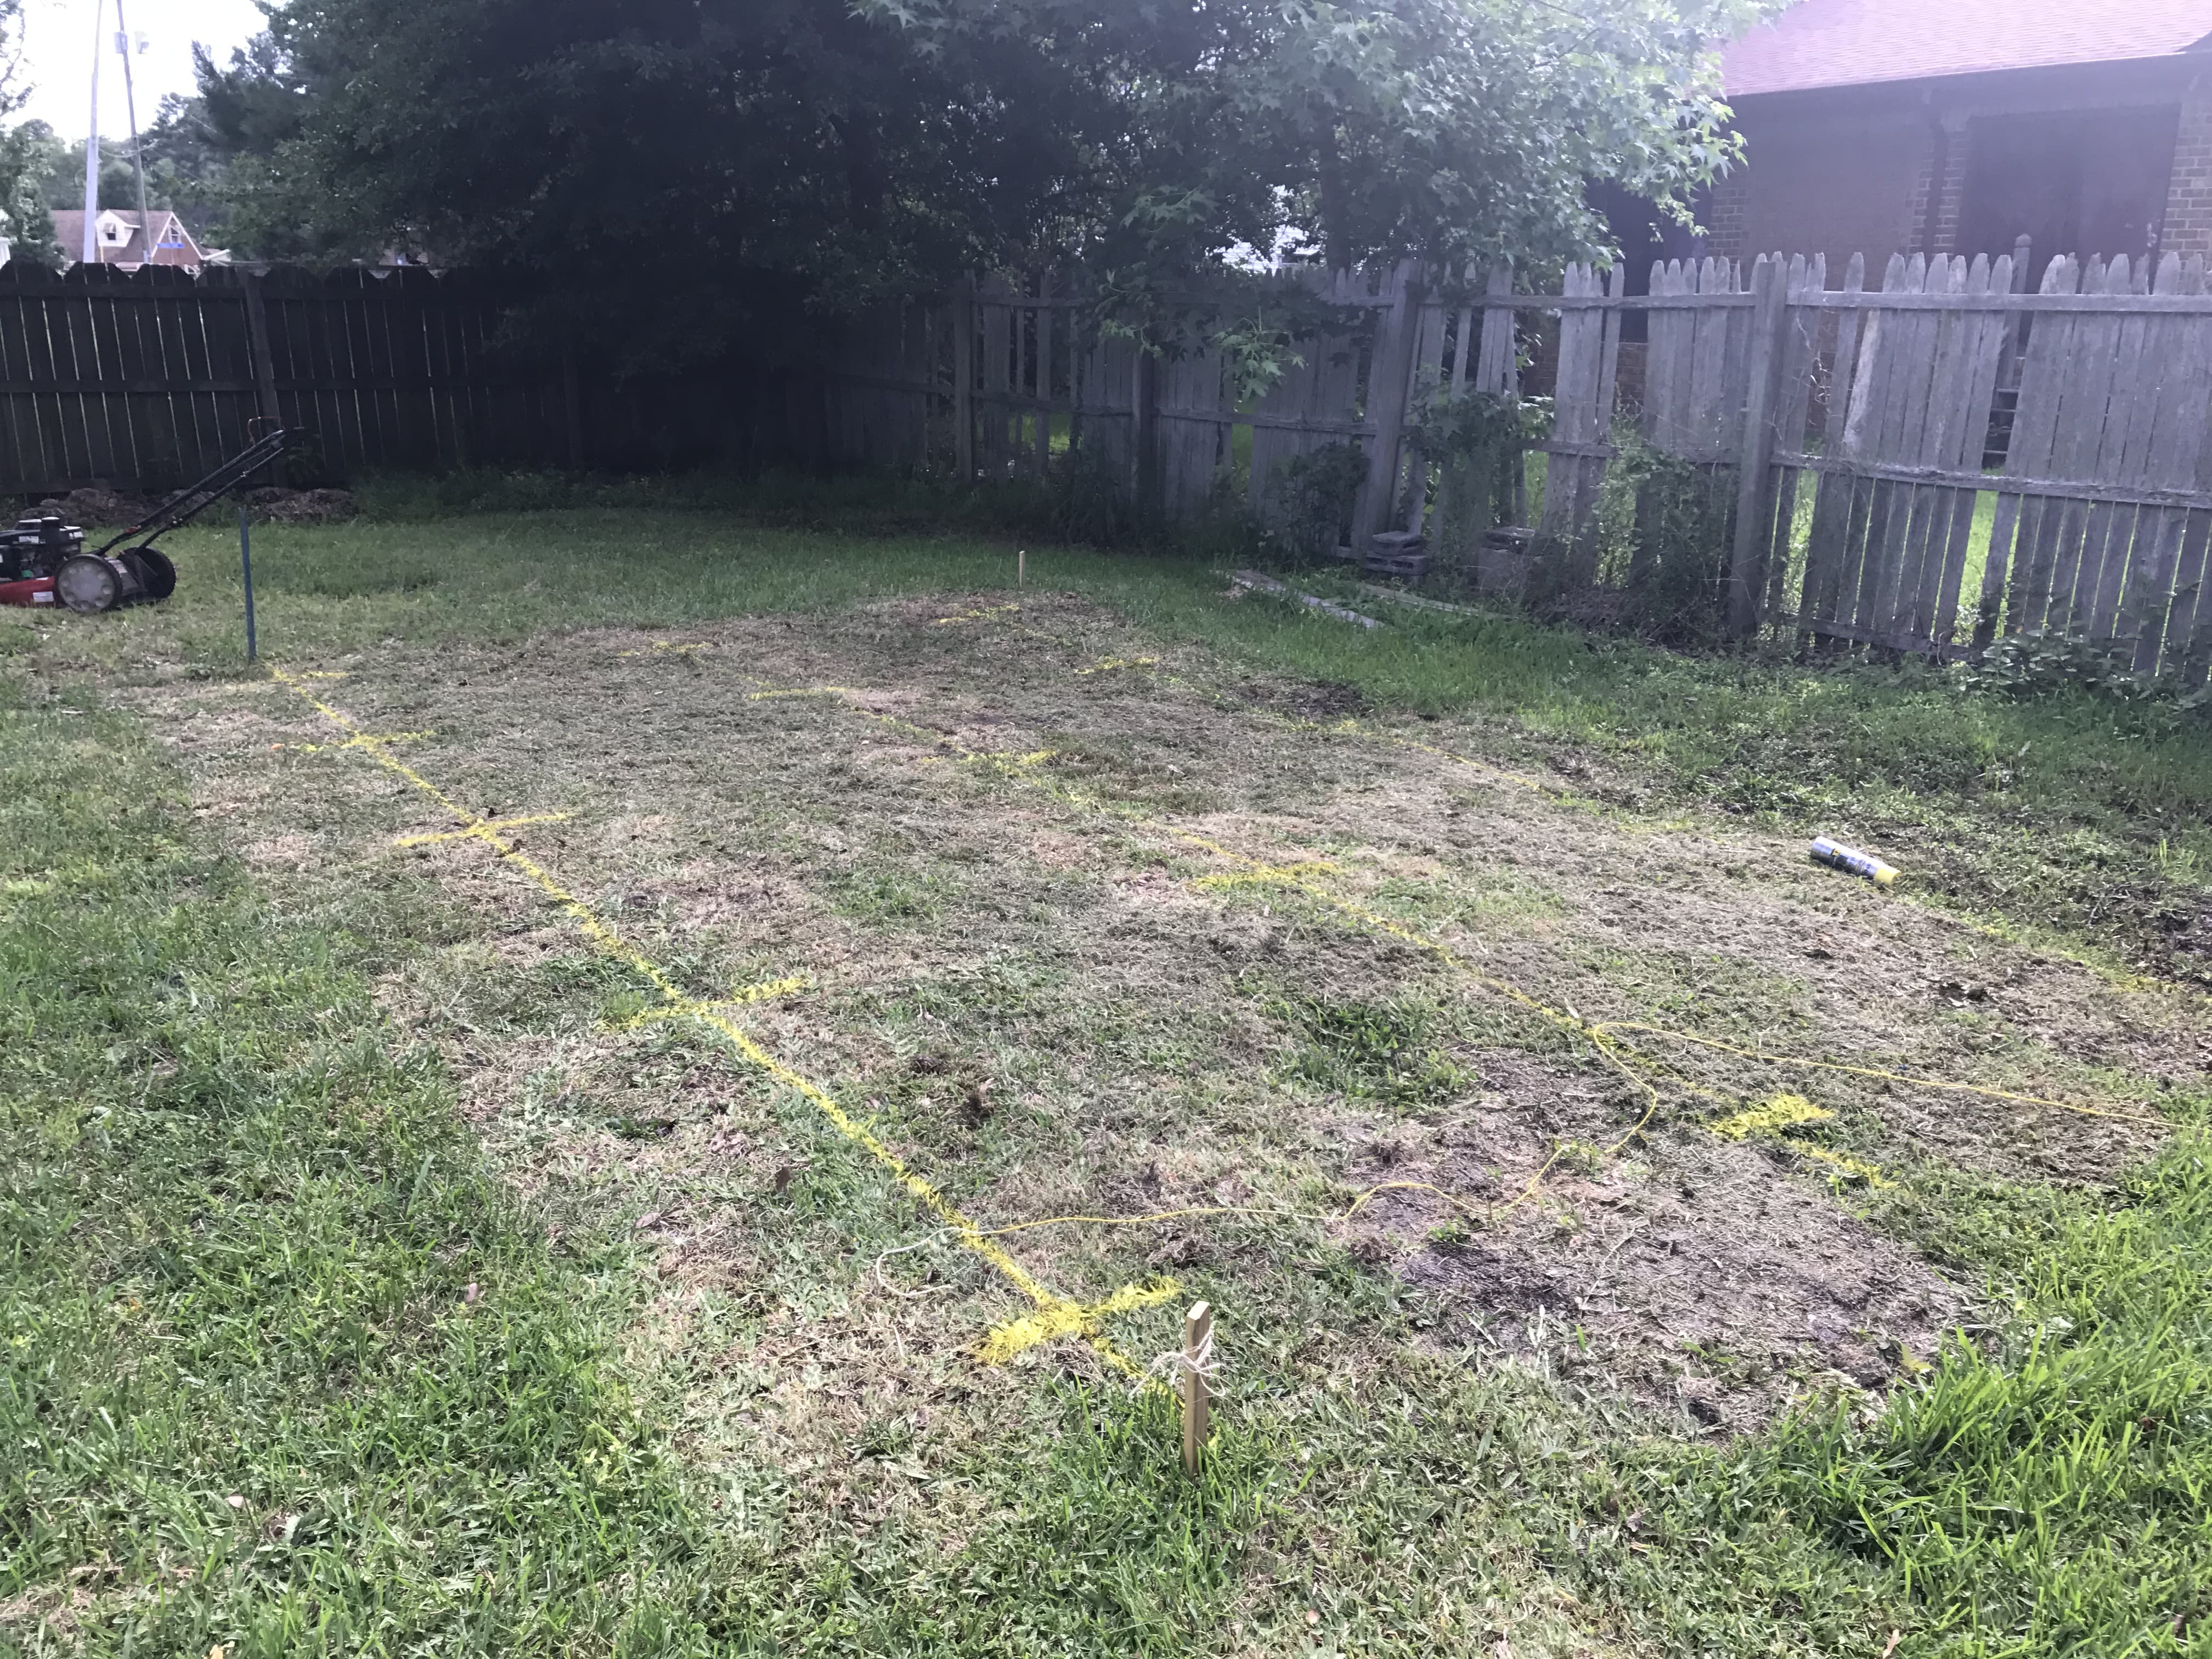
Each "line" is ~64 inches from the other lines and have 5 crosses in them. A total of 15 piers.
Each "pier" will be 30 inches deep and 8 inches wide. The exposed part of the pier will be 12 inches wide. This should give me PLENTY of margin for measurement errors.
June 23th, 2017 - PERMITS
I decided to get a permit. Technically, it's required by the city even if the structure is non-permanent. But this will add to the resale value of my home, and I need to add it to my homeowners insurance. It's important that I make sure all the details are in place.
There are three conditions I have to meet:
- Provide architectural drawings of the building
- Anchor the building to the ground
- Building has to have a flood vent
Since my area is in a flood zone, it is possible (unprobable) that we could get SO MUCH RAIN that the shed floats away. My shed requires 6 anchors total, one in each corner and two in the middle.
Getting the drawings was fairly easy! I just asked. Since the company I'm using does this so often, the manager had them ready to go.
June 24th, 2017 - HARD WORK
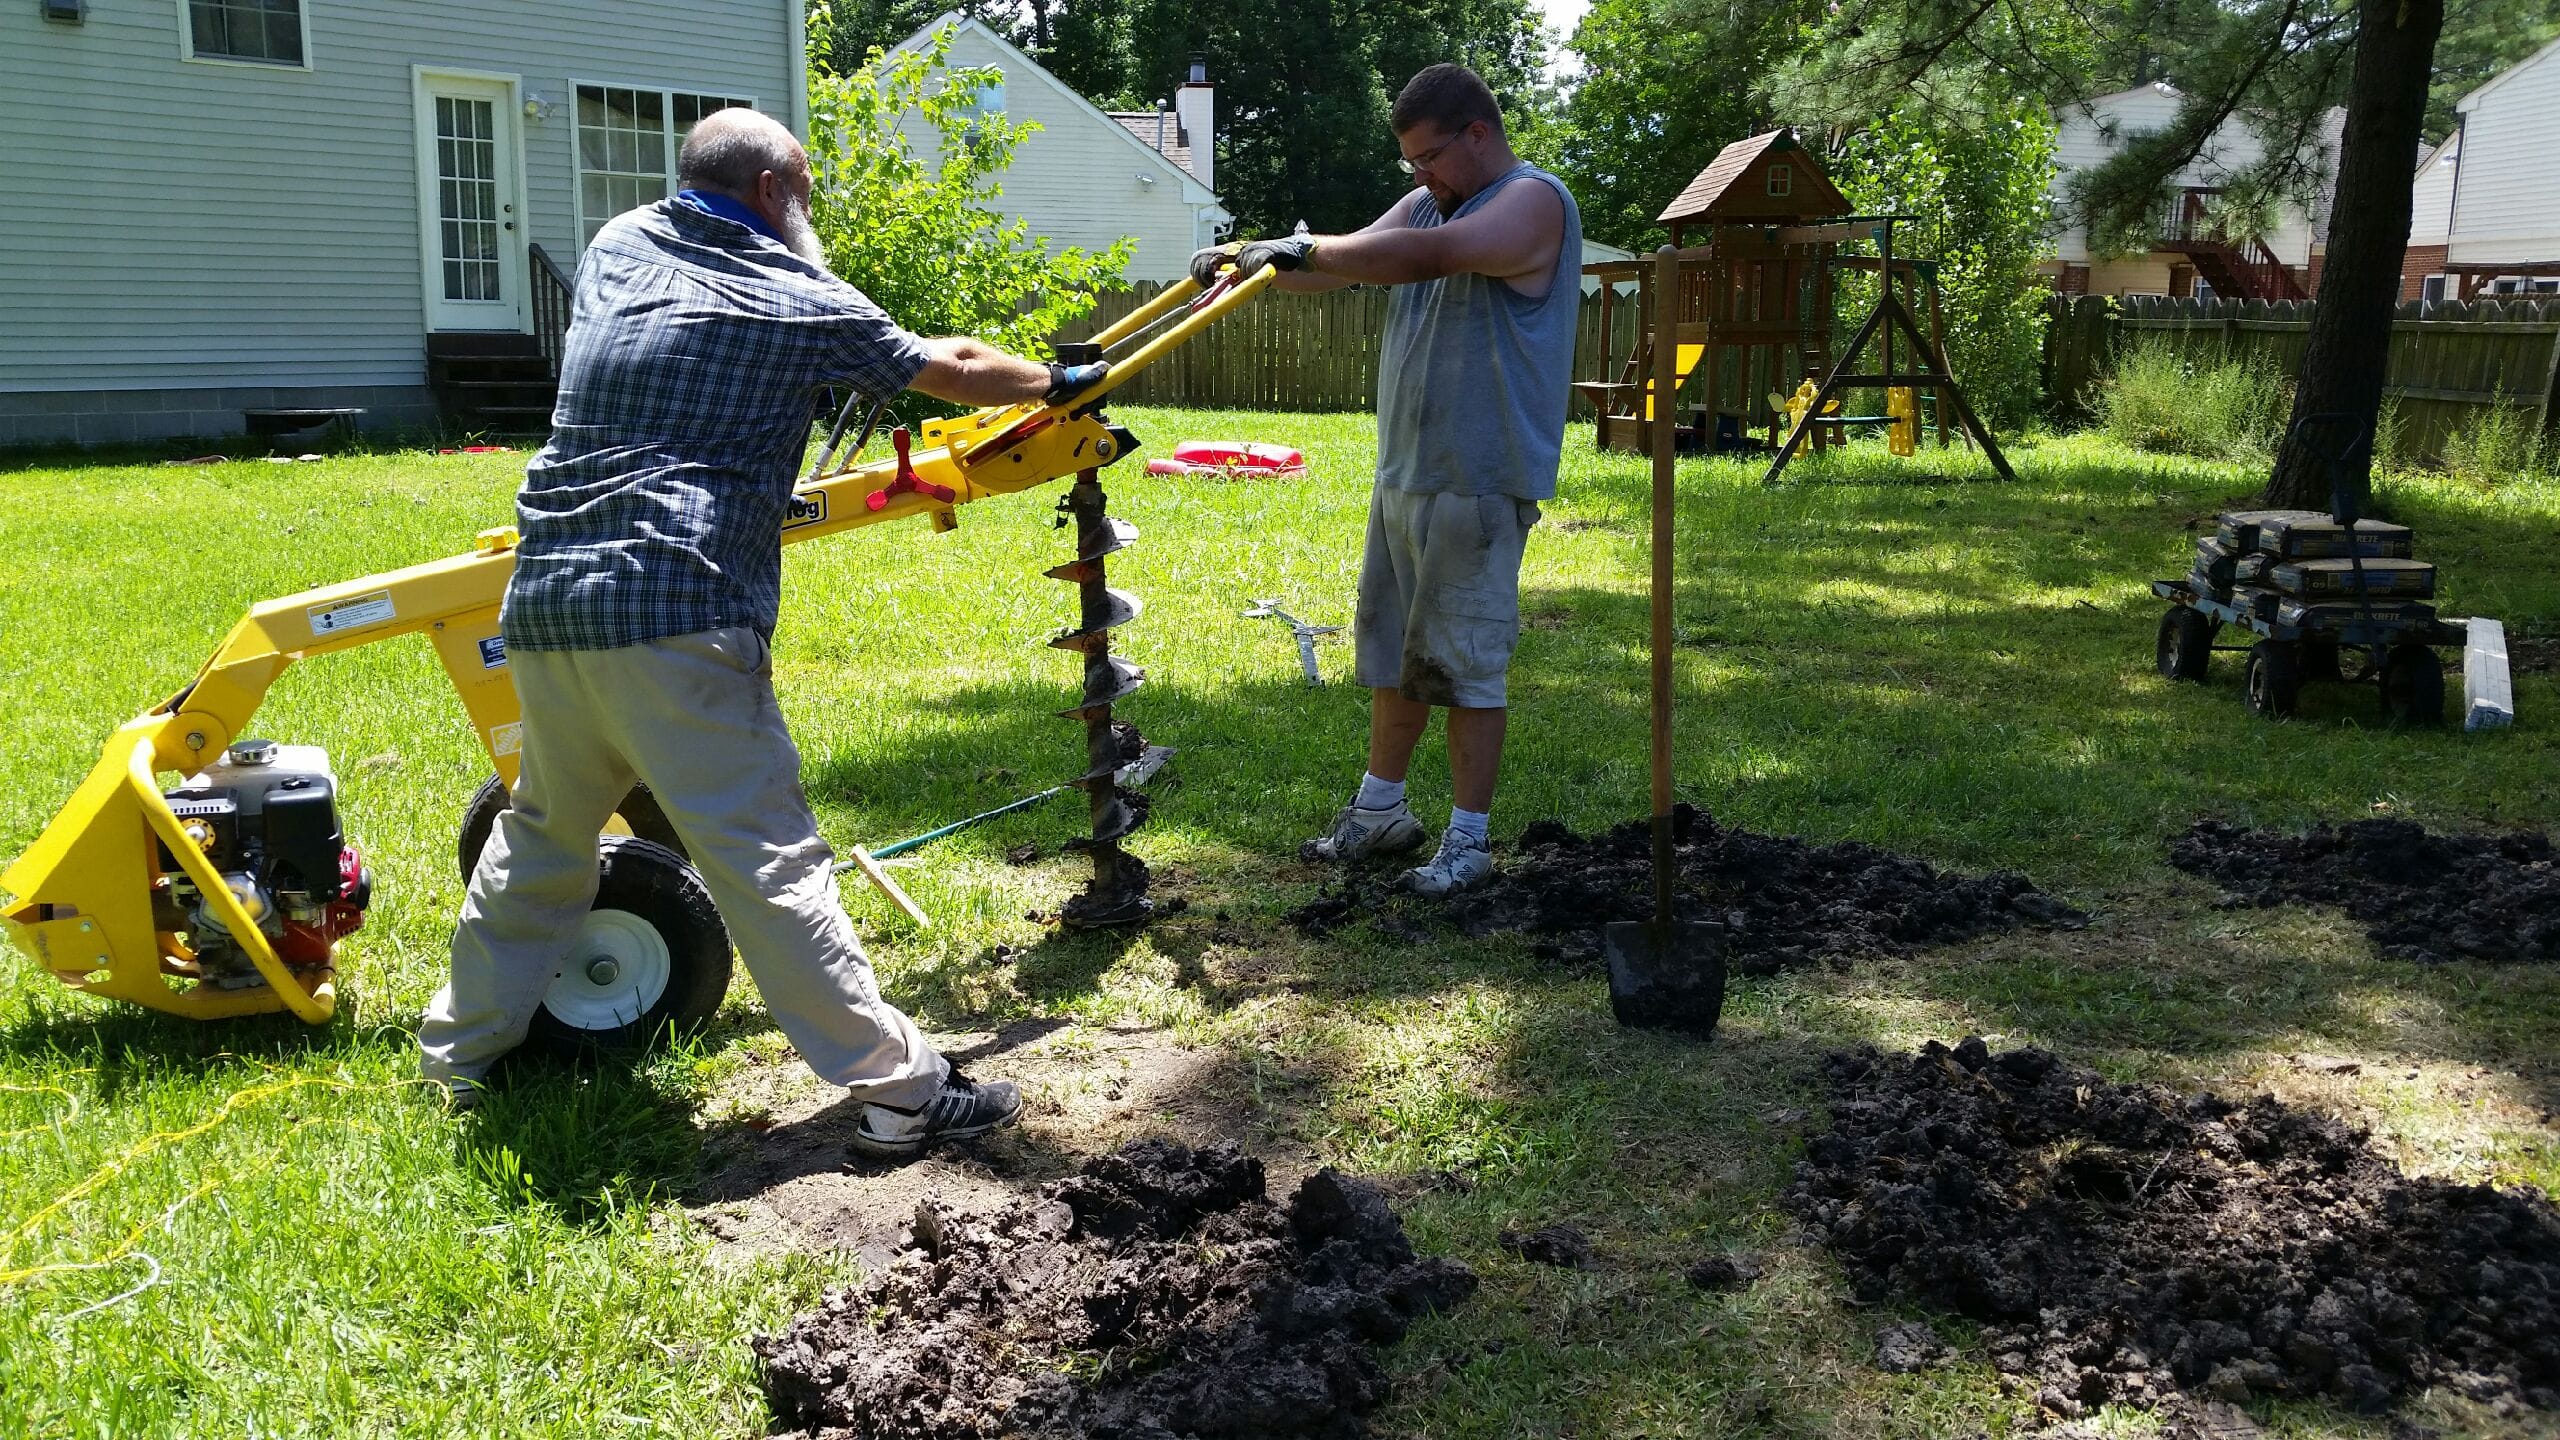
Digging holes is hard work. I threw money at the problem and rented a towable auger for a day.
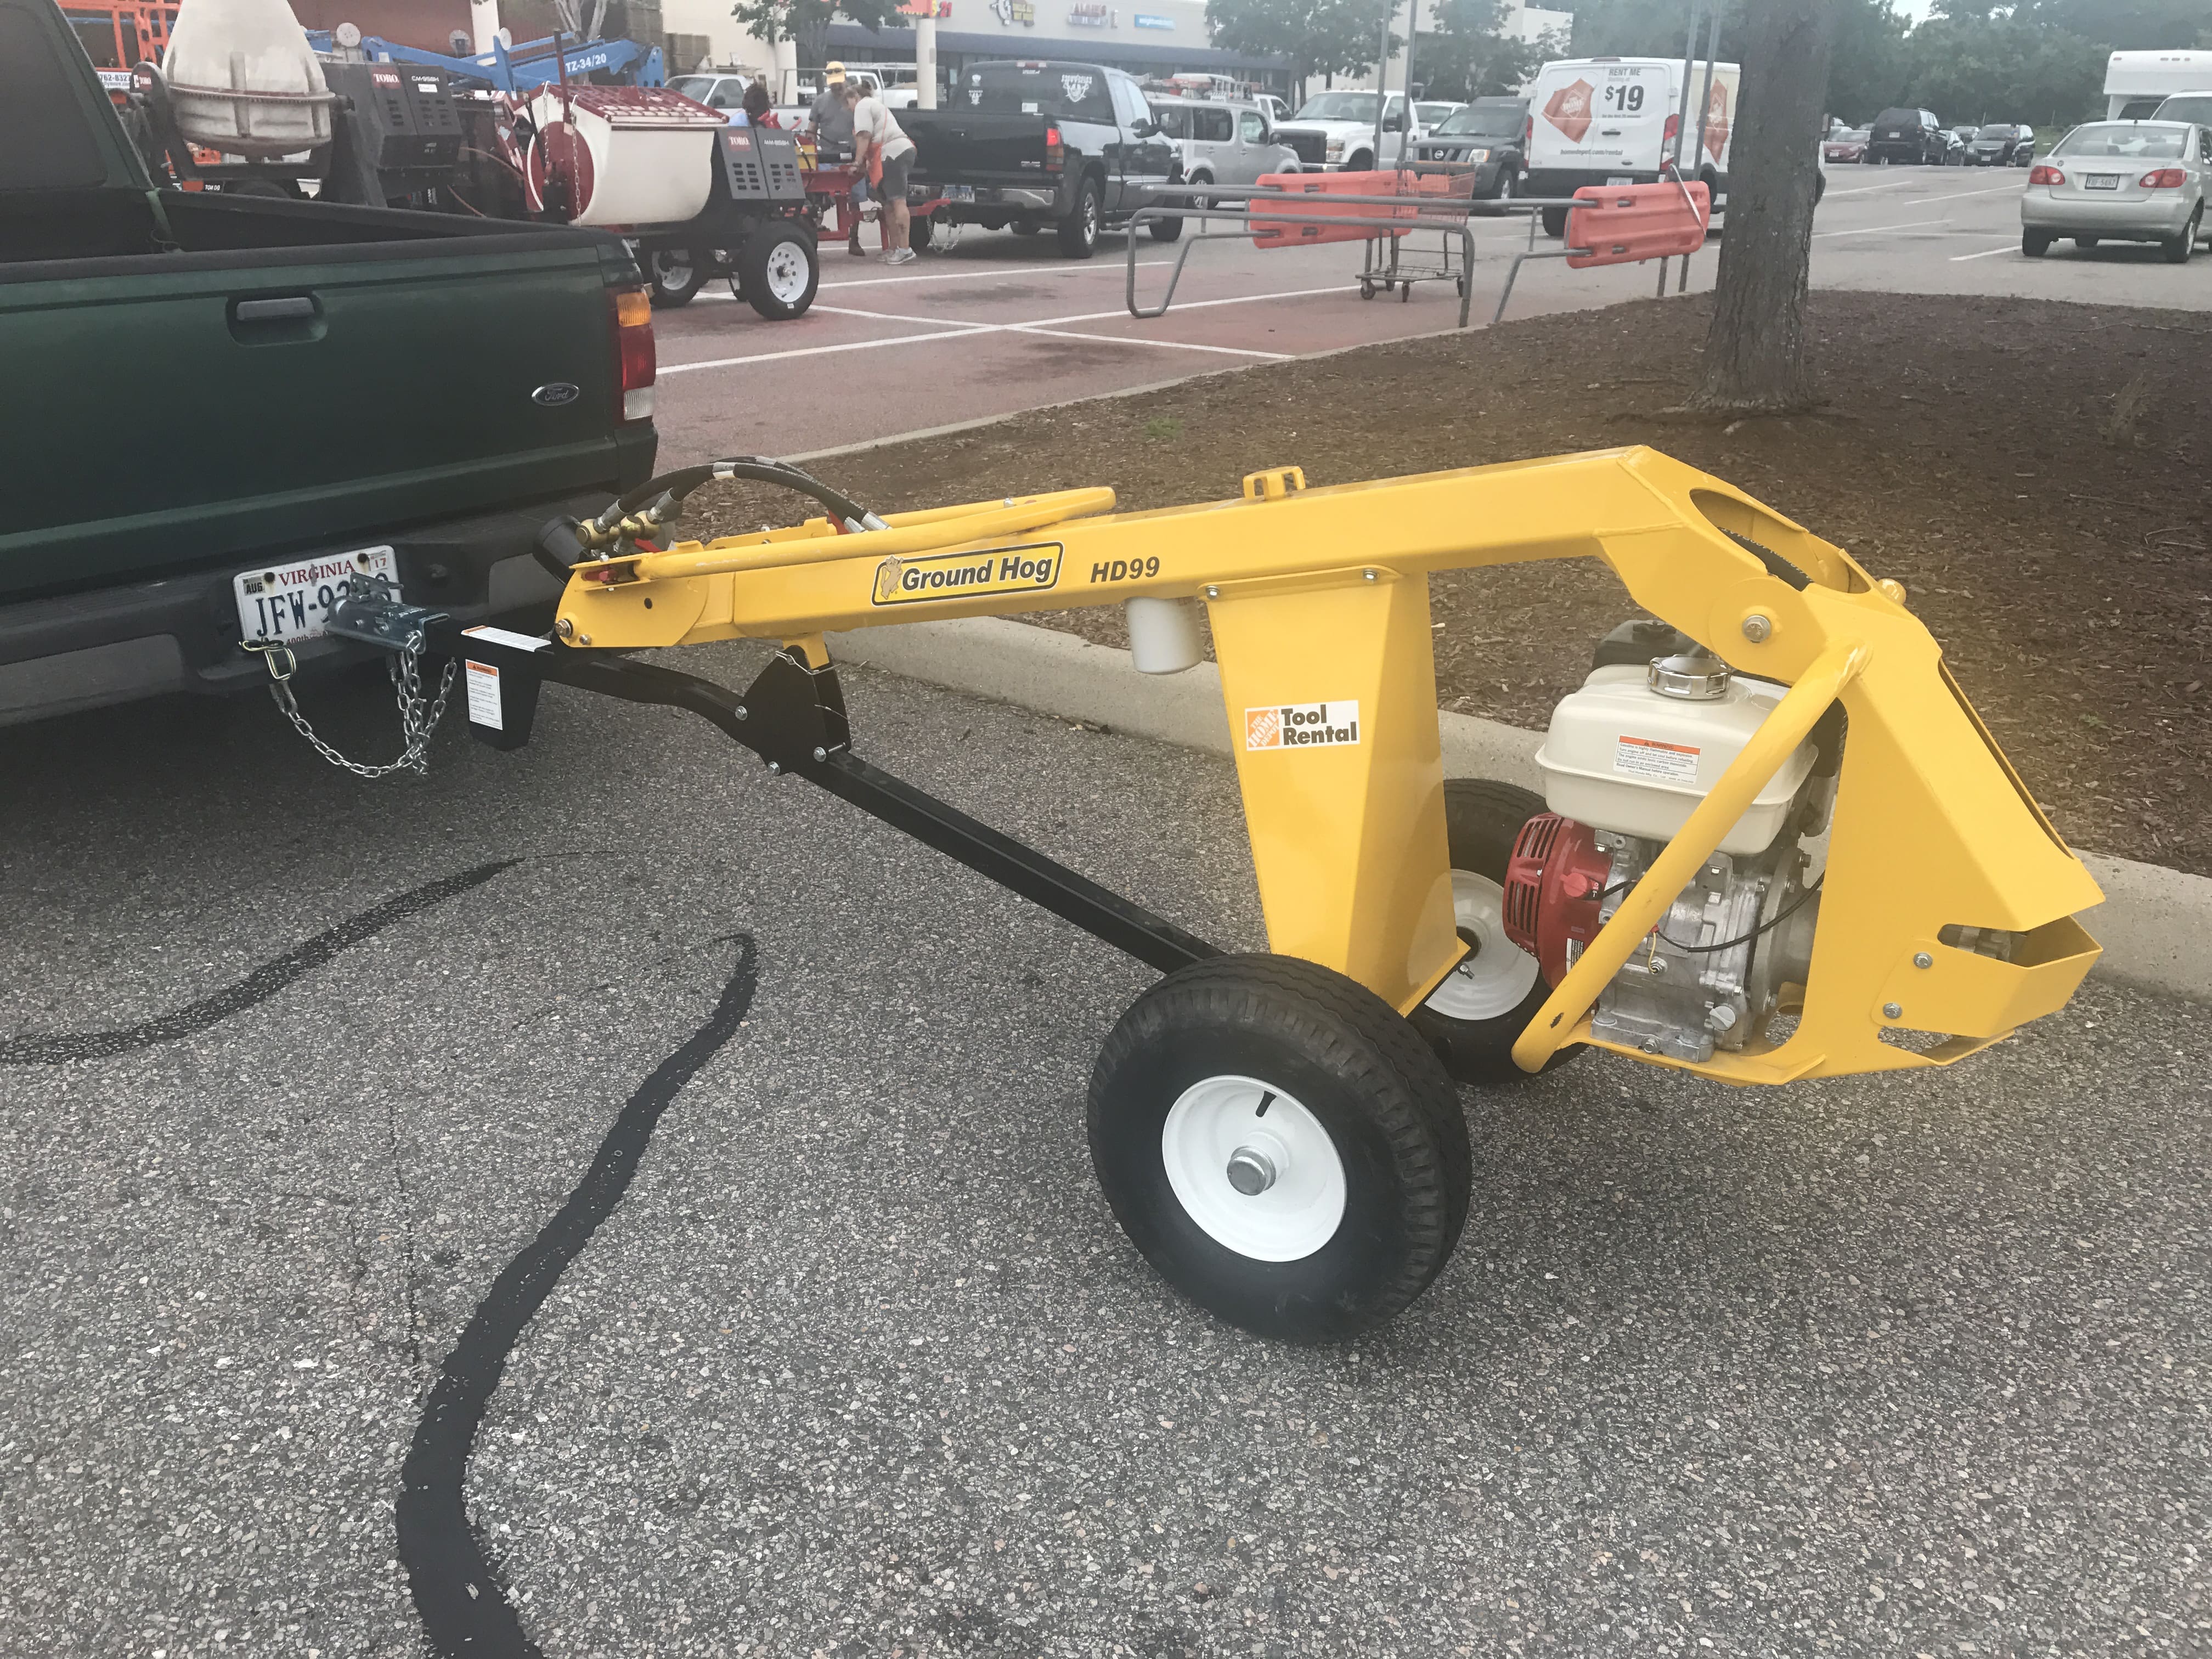
With the help of my dad and brother-in-law, we dug out 15 holes - each about 30 inches deep. As I said above, the area is prone to holding water, so the holes filled up pretty quickly! This process took about 30 minutes total. Much easier than digging out holes by hand.
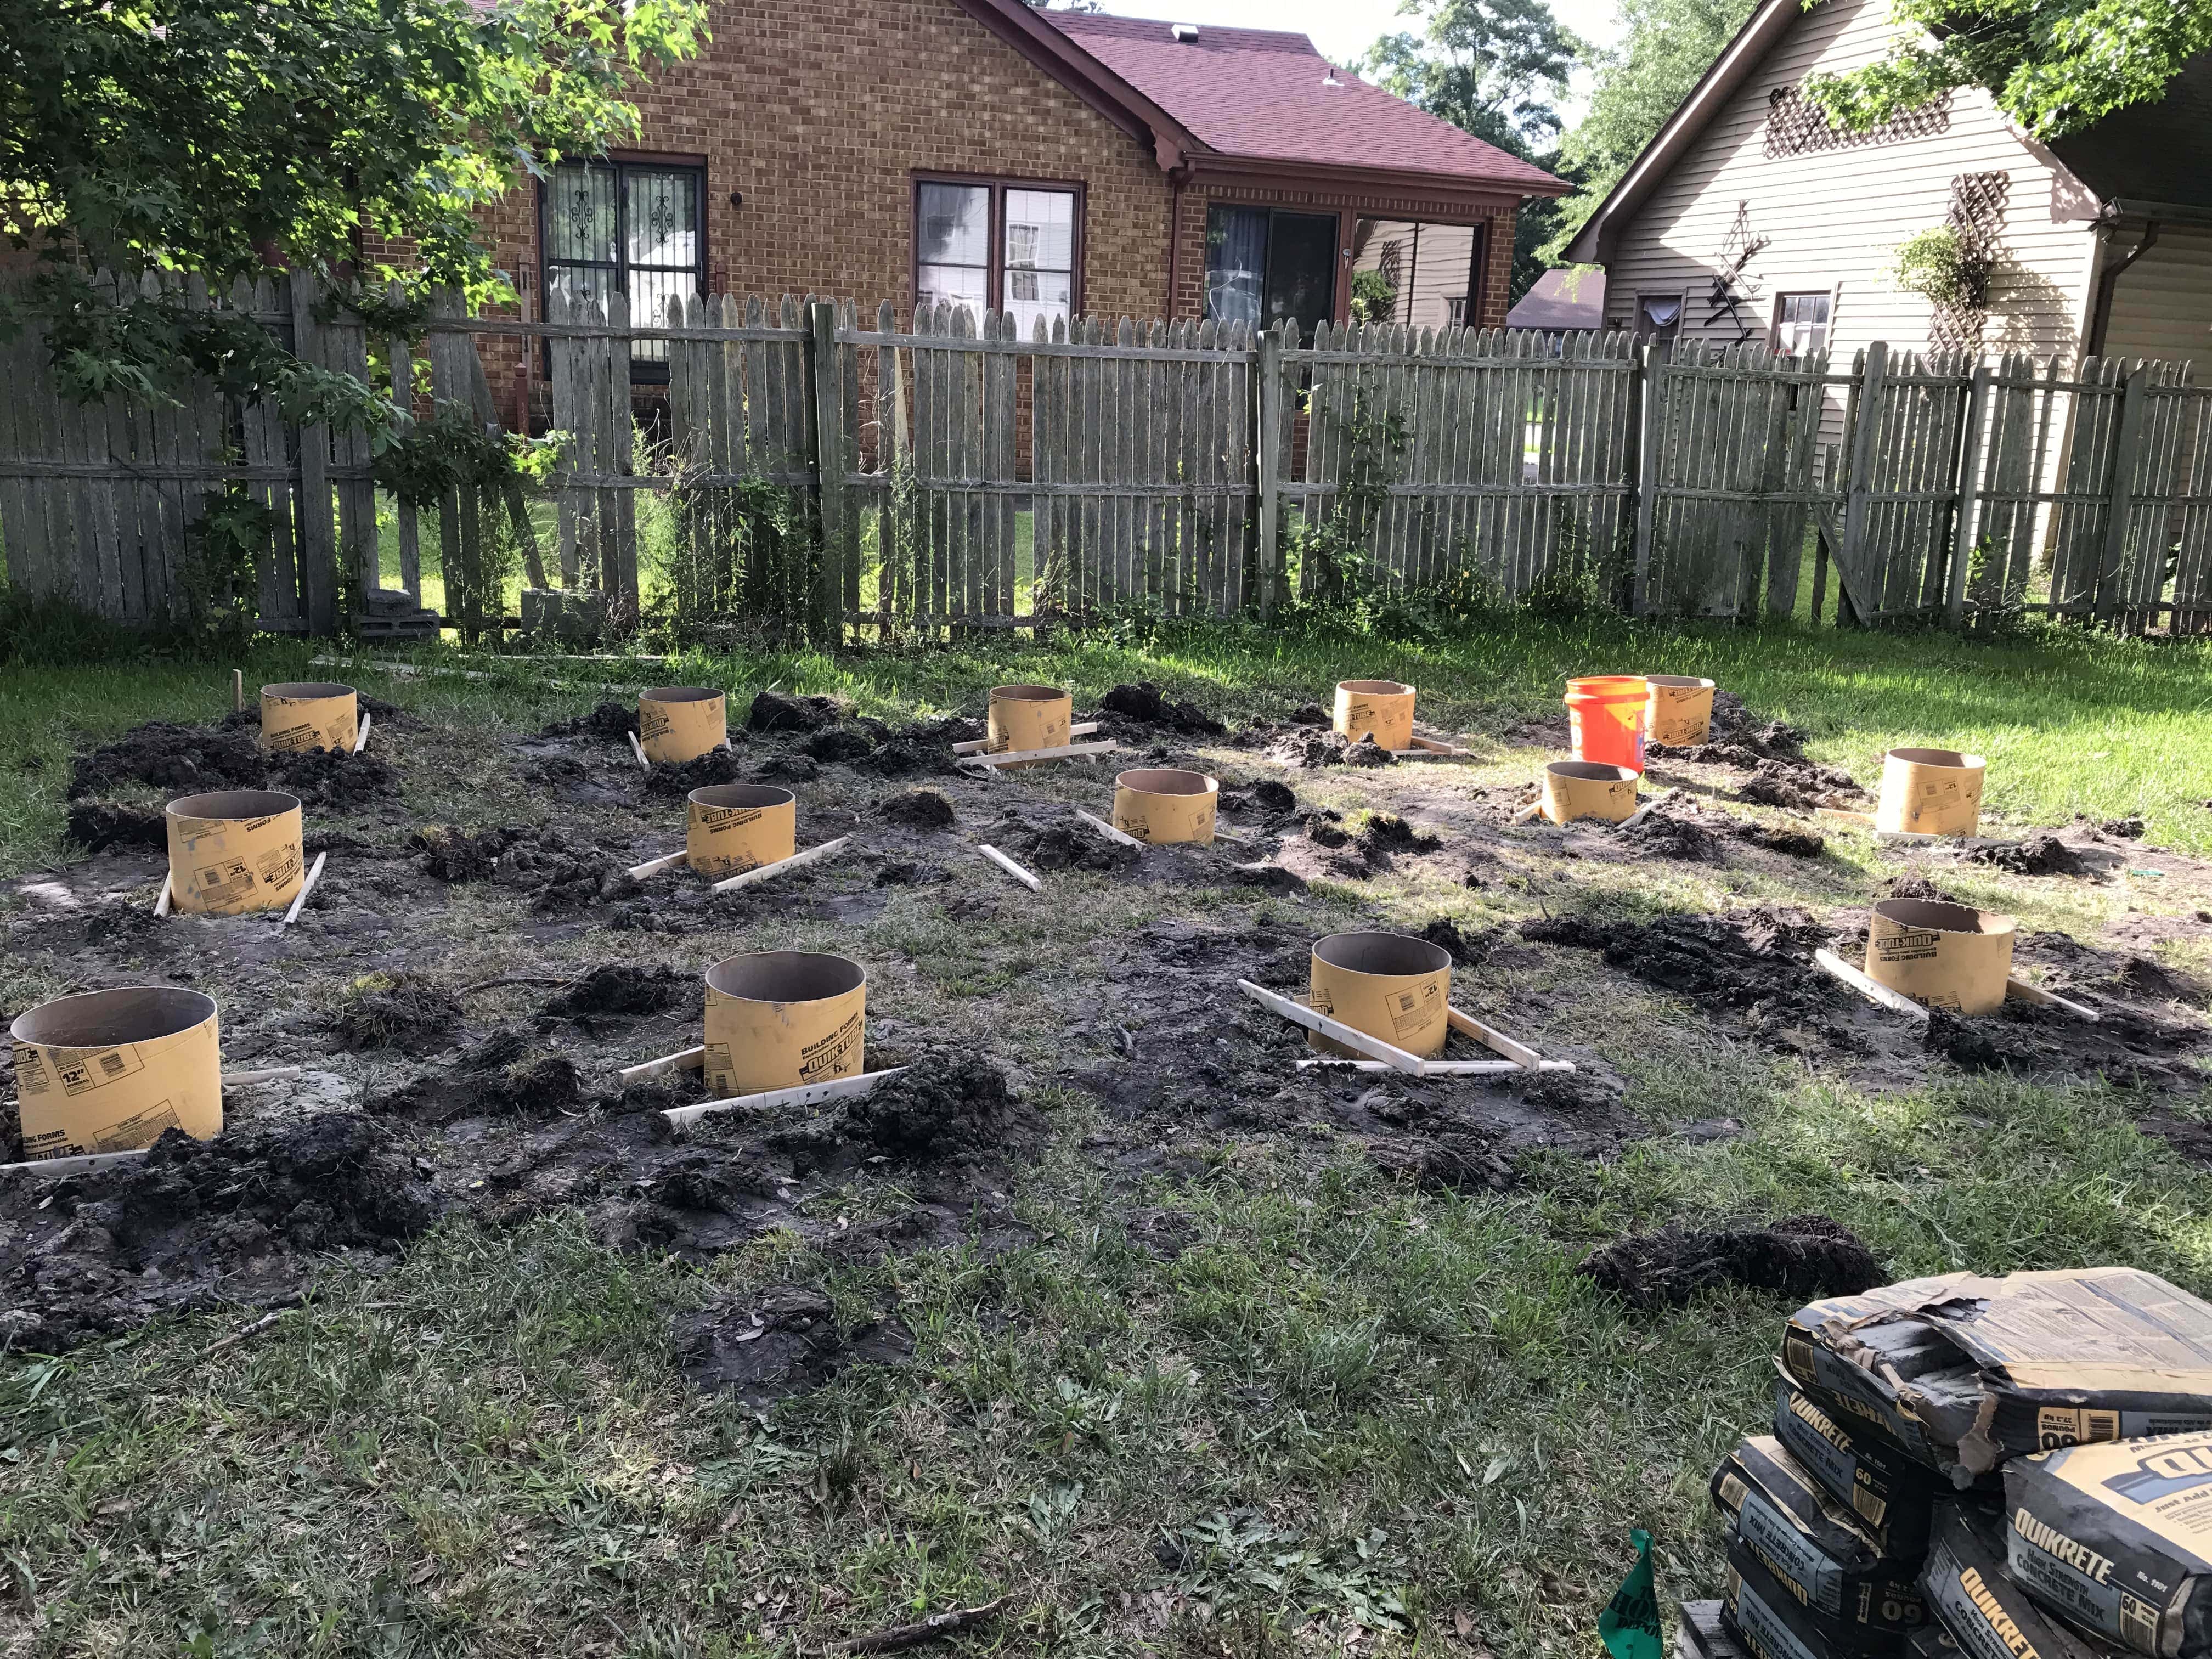
Once all the holes were dug, I cut concrete forms and leveled them all with the highest point in the area. Then I dumped a bag or two of concrete into the holes. Because of the amount of water in the holes, we didn't mix the concrete first. If you dump the bag, it can be mixed in the hole - saving a ton of time and effort.
Along with concrete, I added 3 pieces of rebar to secure the bottom part of the pier to the footing itself.
These had to sit overnight.
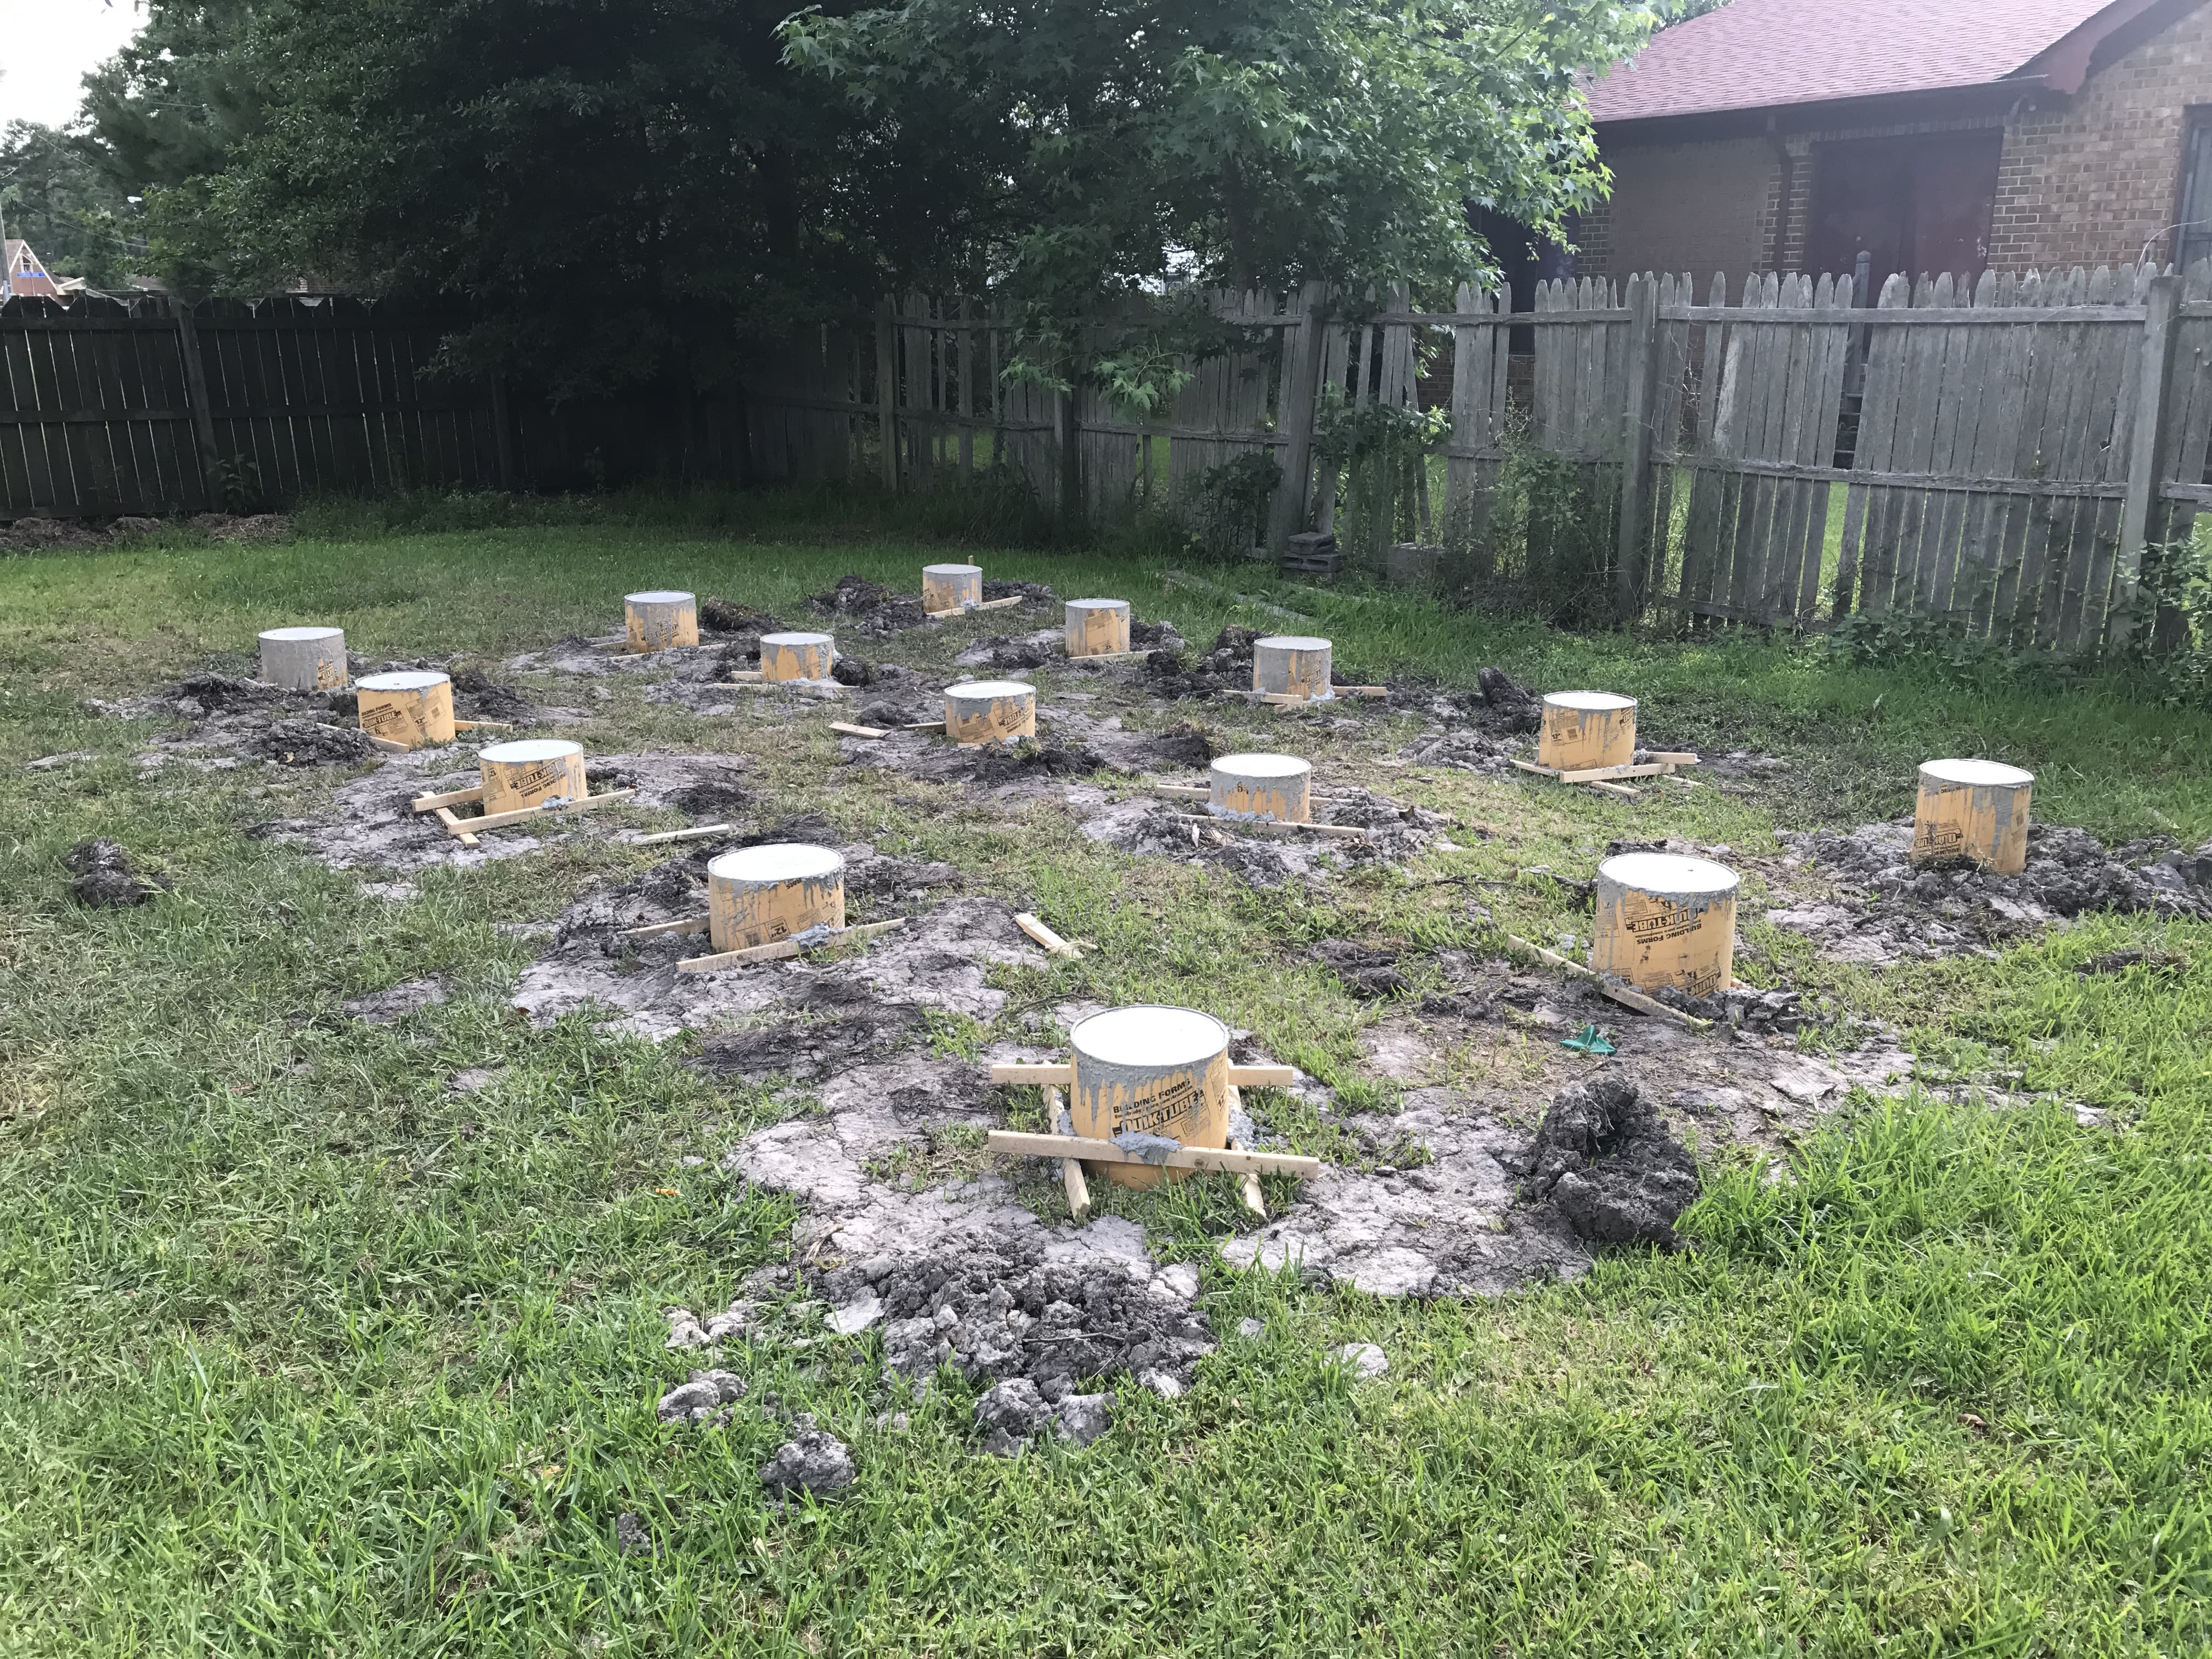
June 25, 2017 - Pouring Footings
After giving the base of the footings a day to dry, we poured the footings. The concrete for these had to be mixed by hand
Next is the FUN part! The shed delivery!
July 10th, 2017 - Shed Delivery!
FINALLY! The Shedquarters came today! After all the prep to ensure that we would have a stable foundation to put the shed on, this was the moment of truth.
The shed showed up on my driveway!
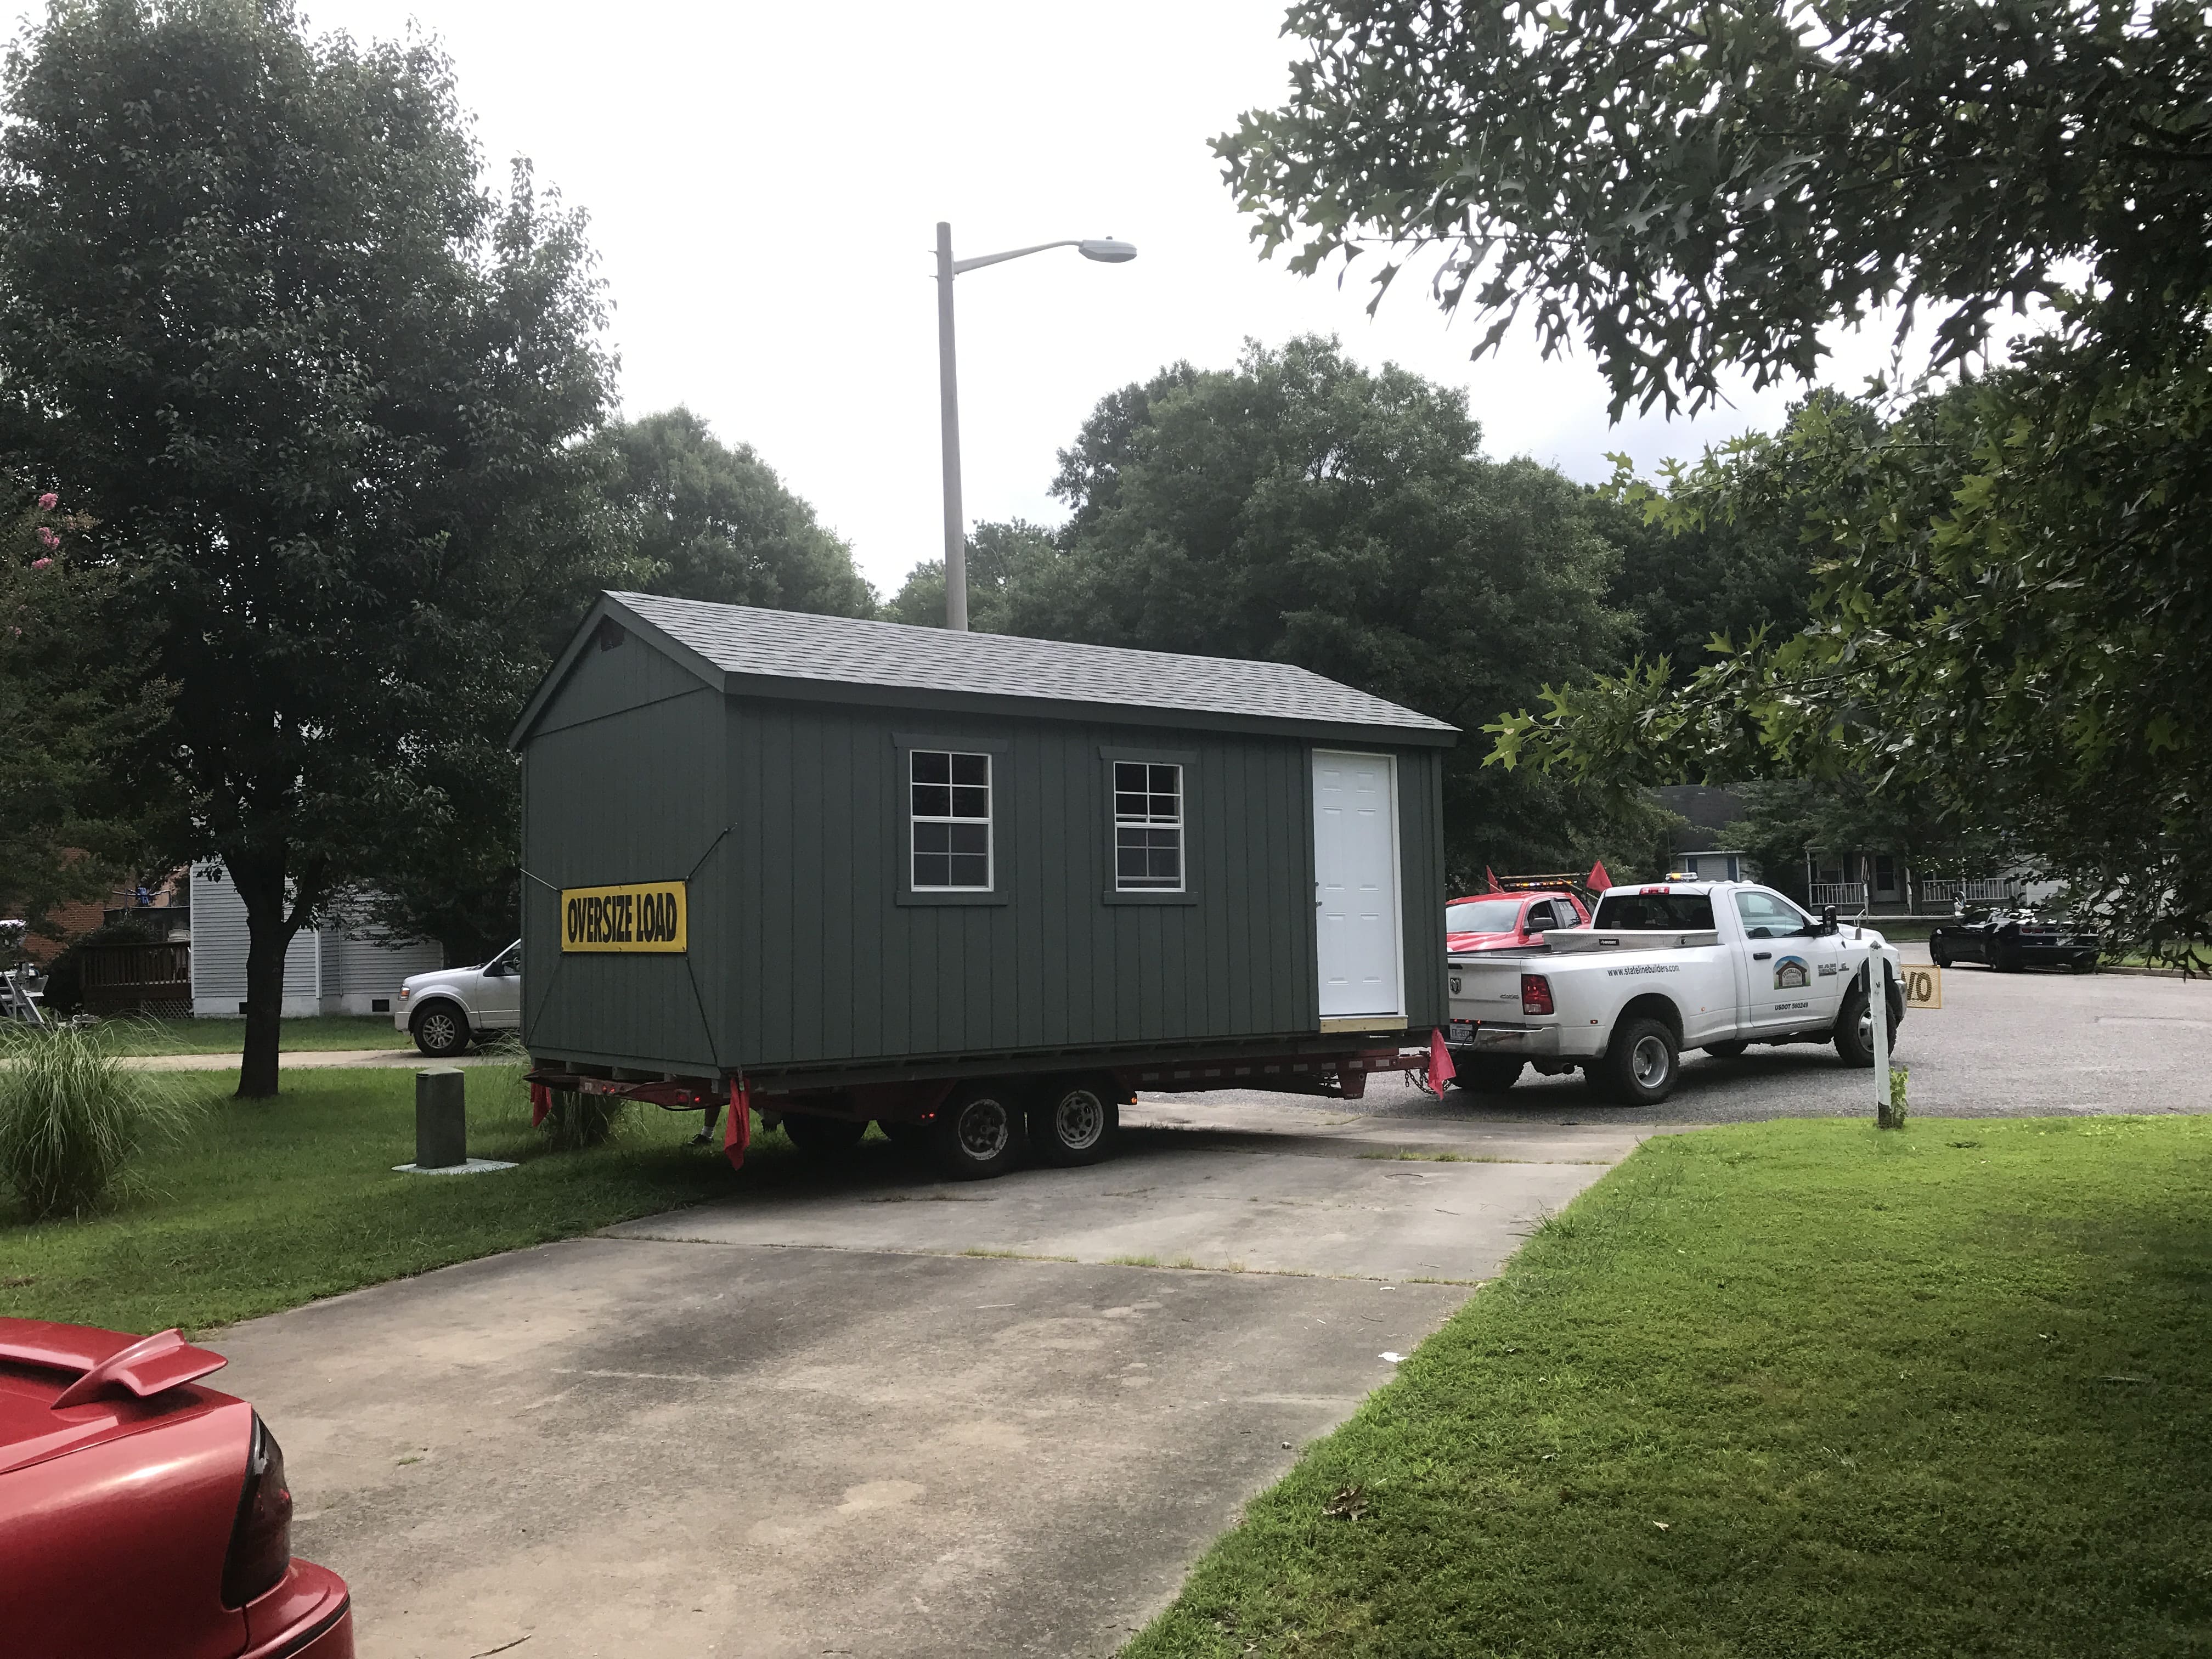
The entire process took about 20 minutes. There was a team of 3 guys, and they backed the shed into my backyard and dropped it on the footings I had poured. And guess what, the footings were near perfect!
Here's a video of the dropping process:
August 27th - Progress on the interior
I had several weeks in August that I wasn't able to work on the shed, but progress has been coming along smoothly.
There are three major things that got done in the Shedquarters.
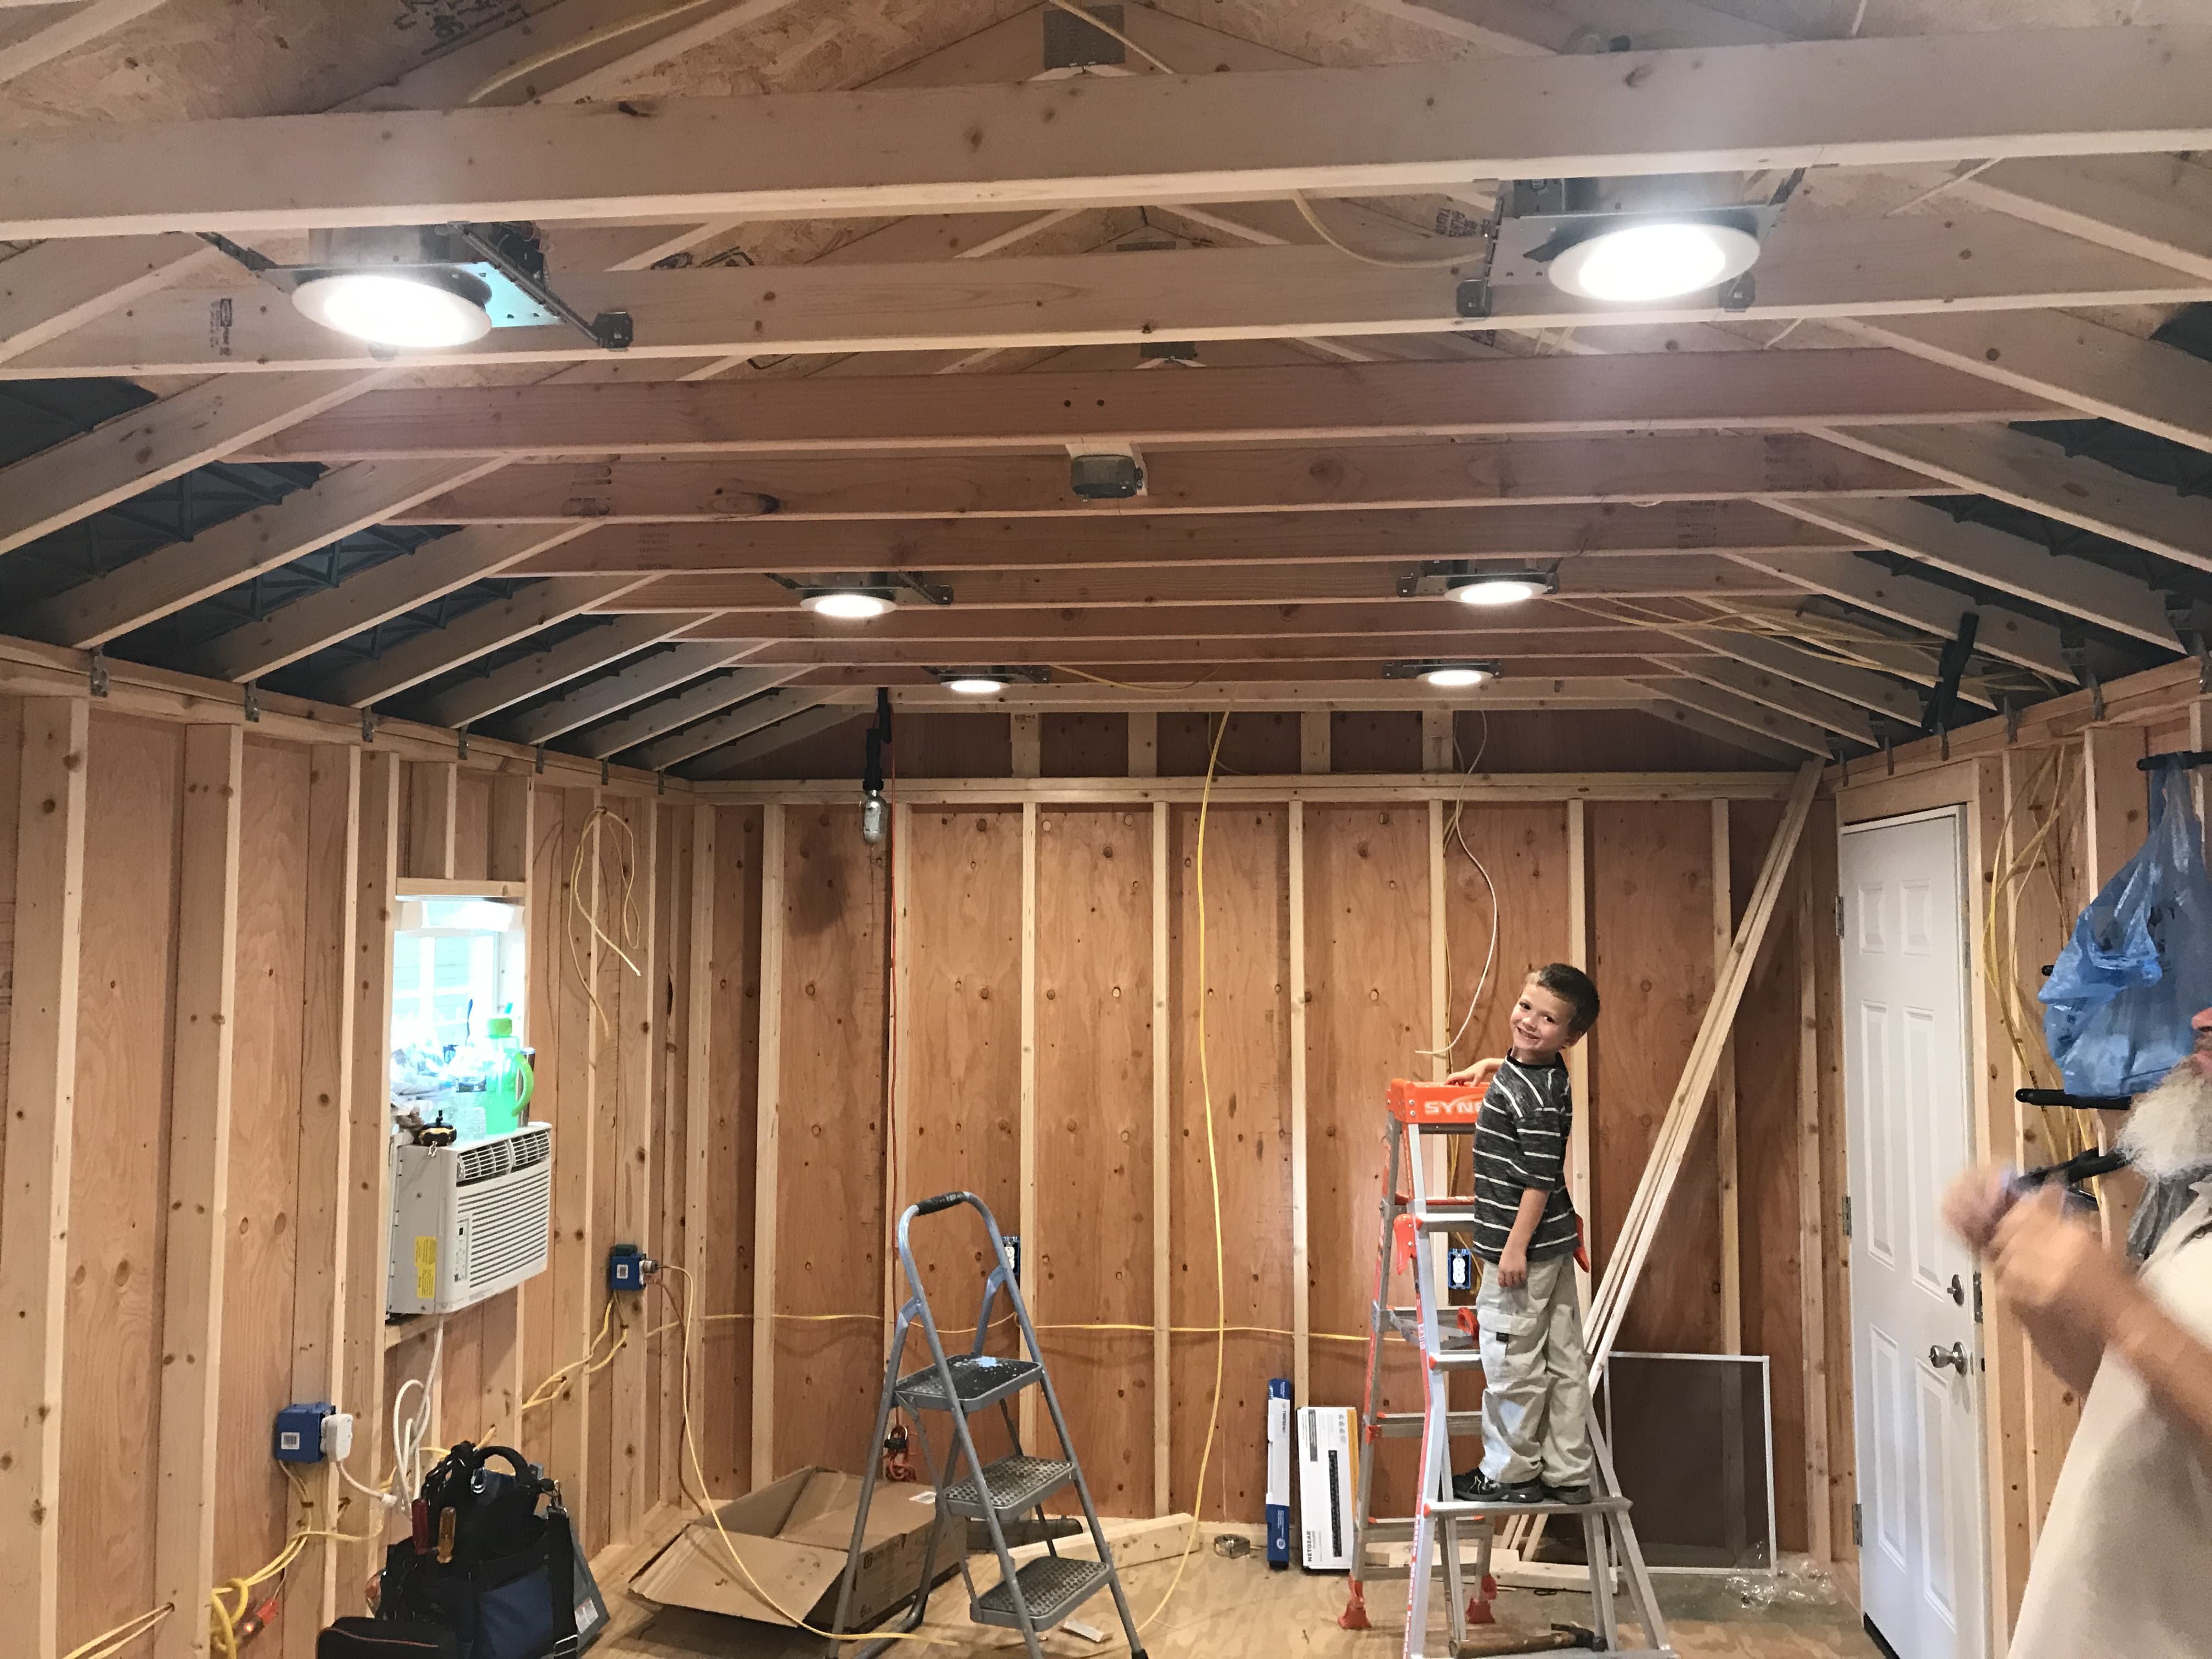
First, we ran electrical wiring throughout the entire building. Because outlets are prime real estate, I opted to have as many as I could.
Soon, my electrician is going to run a 100 amp subfeed from my house out to the shed. This subfeed will run two circuits for outlets, circuits for my AC and heating unit, and circuits for exterior lighting and outlets.
To test the electrical outlets, we wired up up a heavy duty extension cord to "plug" the shed into my house. Works great until you blow a breaker once or twice. At least it's temporary.
We also had to install 2x4 beams across the roof to hang drywall from. Here is a picture of the completed work:
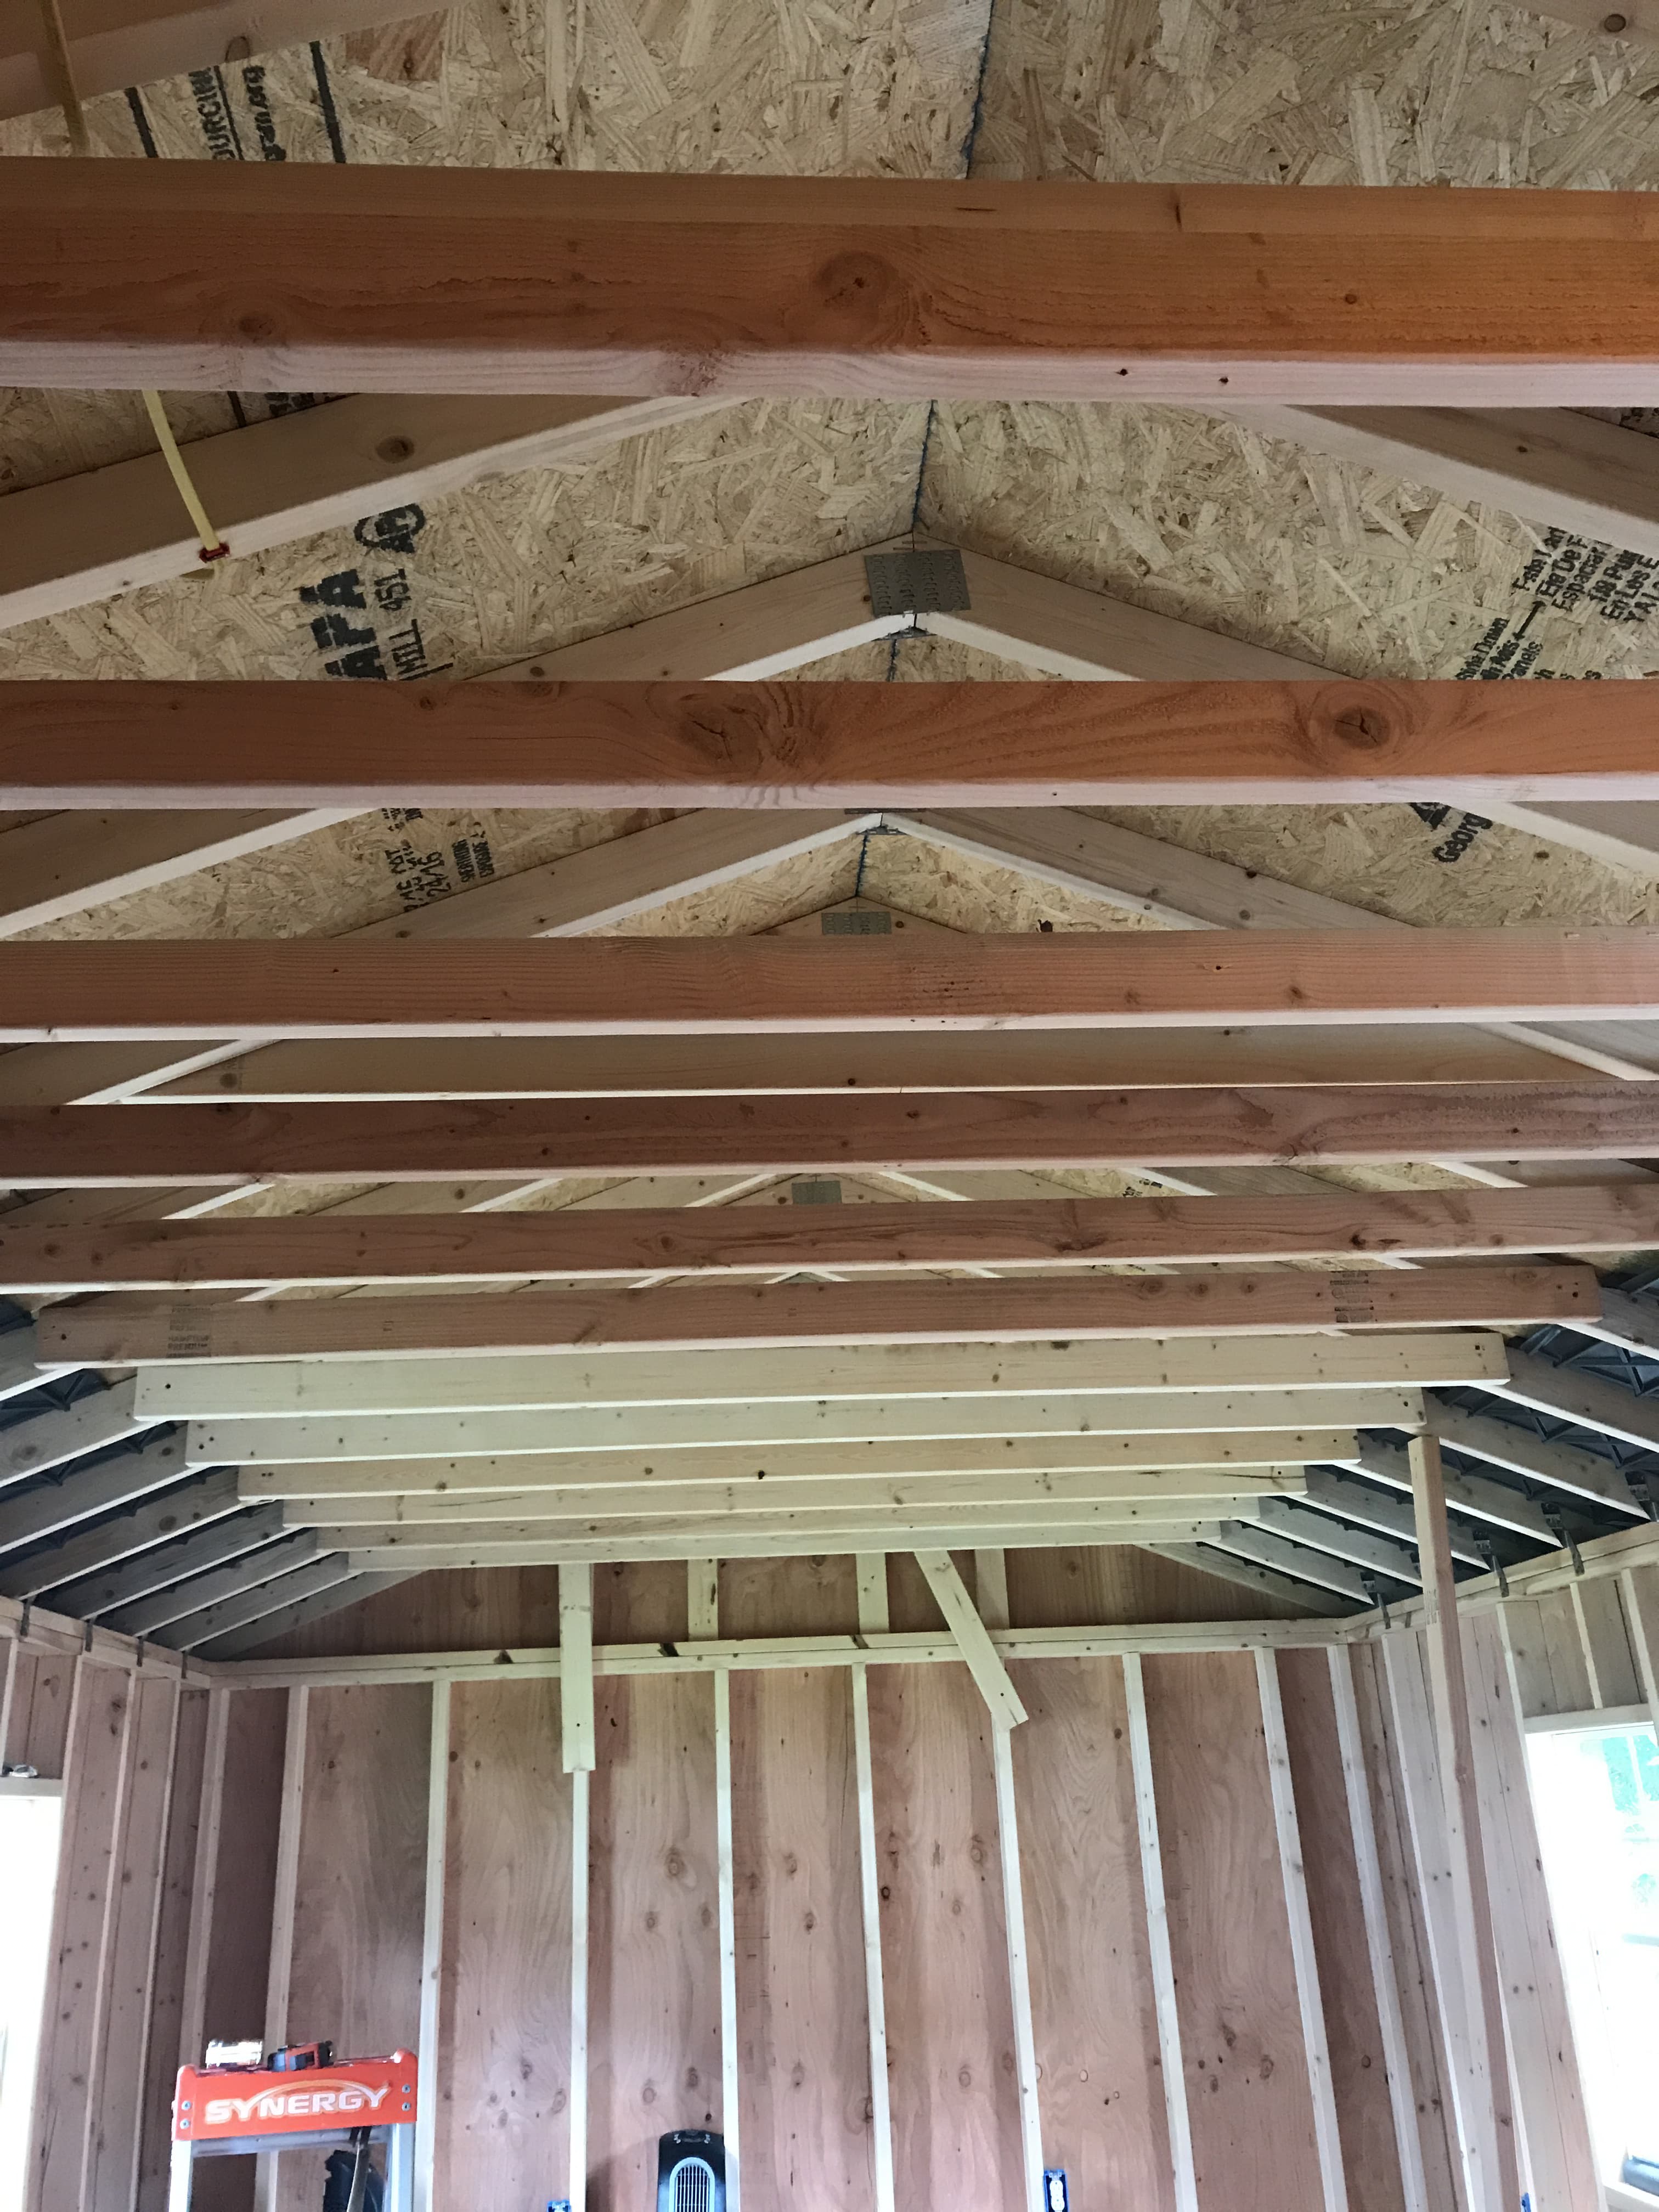
Once the beams were in, we could hang the recessed LED lights I bought. I'll have 8, in total, plus a ceiling fan in the middle of the room. These LEDs throw a ton of light, and do a great job of filtering it across everywhere.
Next step - ETHERNET and real power.
FAQ
Did you a permit?
According to the city, I did need a permit. The entire process was painless. I told the building permits people at city hall what I was doing, and they directed me exactly where I needed to go. A couple bucks later - I'm done. After the shed was installed, I had to anchor it and call the city back out to do the final inspection. That process was all online, and literally took 5 minutes when the guy got here. Most of that was chatting about how awesome my Shedquarters is going to be.
Do you have an HOA (Homeowners Association)?
HECK NO! I won't go into the pros and cons of a HOA - but I prefer not having to ask permission for what I want to do on my property.
What are you questions? Ask in the comments or on Twitter
Costs
How much does it cost to build out a Shedquarters? I'm trying to include Virginia Sales Tax as well (6.00%).
| Item | Cost |
|---|---|
| Shed | $5,796.08 |
| Building Permit (City of Chesapeake) | $91.74 |
| Towable Auger Rental | $127.01 |
| 5 - Bags of Gravel | $20.35 |
| 45 - 2Ft Rebar | $88.25 |
| 4 - 48" Concrete Form Tubes | $67.71 |
| 39 - Bags of Concrete (60lbs) | $176.60 |
| Electrical Boxes (Home Depot) | $7.45 |
| Electrical Boxes (Lowes) | $4.29 |
| Anchors (city requirement) | $44.27 |
| 8 - LED Recessed Bulbs | $76.28 |
| 8 - Recessed Light Housings | $60.89 |
| 2 - LED Light Switches | $48.70 |
| 2x4 (Variety of Lengths) | $110.45 |
| Misc Costs | $61.56 |
| Total | $6,781.63 |